Hi guys!
Today I’m back with a short tutorial on how to achieve dewy glowy skin! For today, I’ll be showing you a way to have dewy glowy skin using makeup. If you’re getting ready for an extra special day, I suggest that you tend to your skin by religiously using the right products to make it look healthy. For those who don’t have the time to do that (you really should have time but who am I kidding? haha there are days when I forget to do my skin care routine when I’m extra tired and I just collapse on my bed. eek guilty!), this tutorial is perfect for you! :)

Make sure you have cleansed and toned your face before anything else. I didn’t add those steps to my tutorial because I felt like it wasn’t really something that should be added to this tutorial because it’s not a skin care tutorial. Or is it? HAHA i don’t know.
Step 1: Moisturize

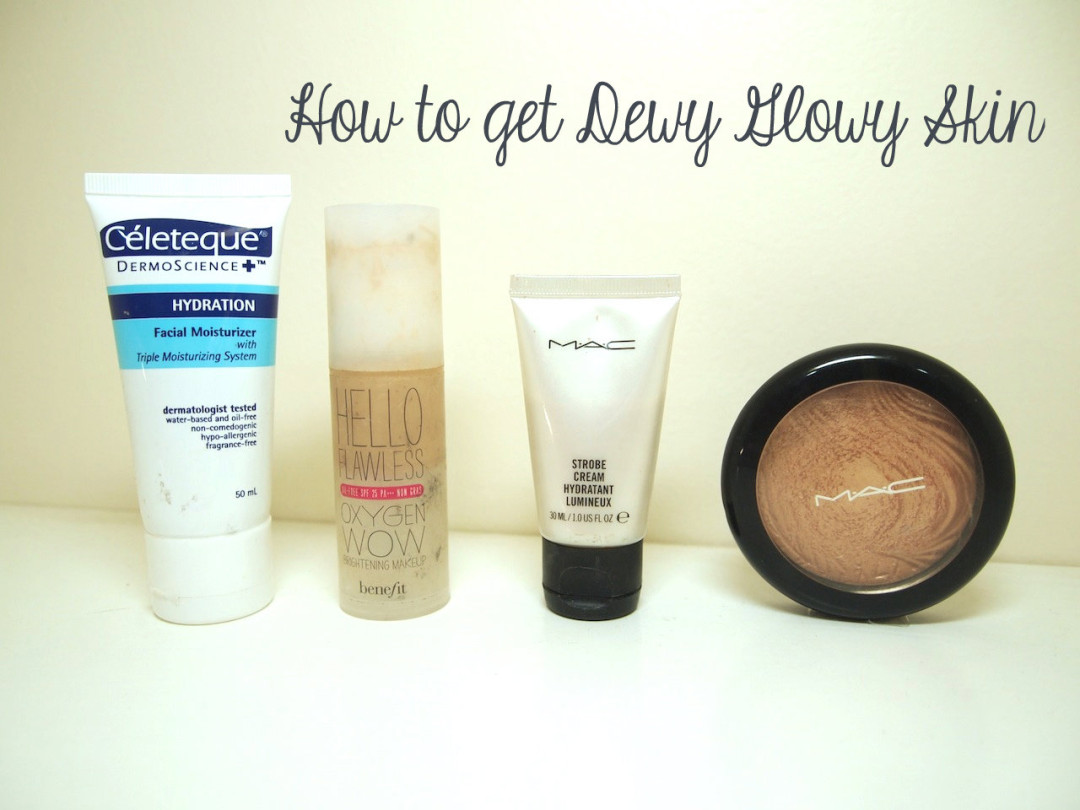
Obviously the first step to getting a dewy glowy skin is moisturizing your skin. Make sure to lather on the right amount of moisturizer and give your skin some loove! You may use any moisturizer you want. :) Massage the moisturizer onto your skin until it is absorbed by your skin fully!
Step 2: Mix your favorite liquid foundation with a liquid highlighter

If your skin doesn’t need a full coverage foundation, it is best to use your lightest foundation. I chose to use my Benefit Hello flawless foundation. I used 1 and a half pumps worth of the foundation and a pea size worth of liquid highlighter from MAC. I mixed both products on the back of my hand and used a flat top kabuki brush to apply. You may use a stipling brush or whatever tool you wanna use. :)
If you have blemishes or imperfections, you may conceal them during this step. :)
Step 3: Apply Highlighter

Apple highlighter on your cheeks. Use your pupil as a marker. Apply it from below the middle of your pupil until you reach your temples. As a general rule, apply it where the light hits your face: cupid’s bow, below your eye-brow and bridge of your nose. If you have chubby cheeks, you may choose not to apply highlighter on your cheeks because the highlighter might just emphasize your cheeks and make them look bigger. It’s also good to use a highlighter that doesn’t have to much shimmer or big gunks of glitter. :)
Finished Product

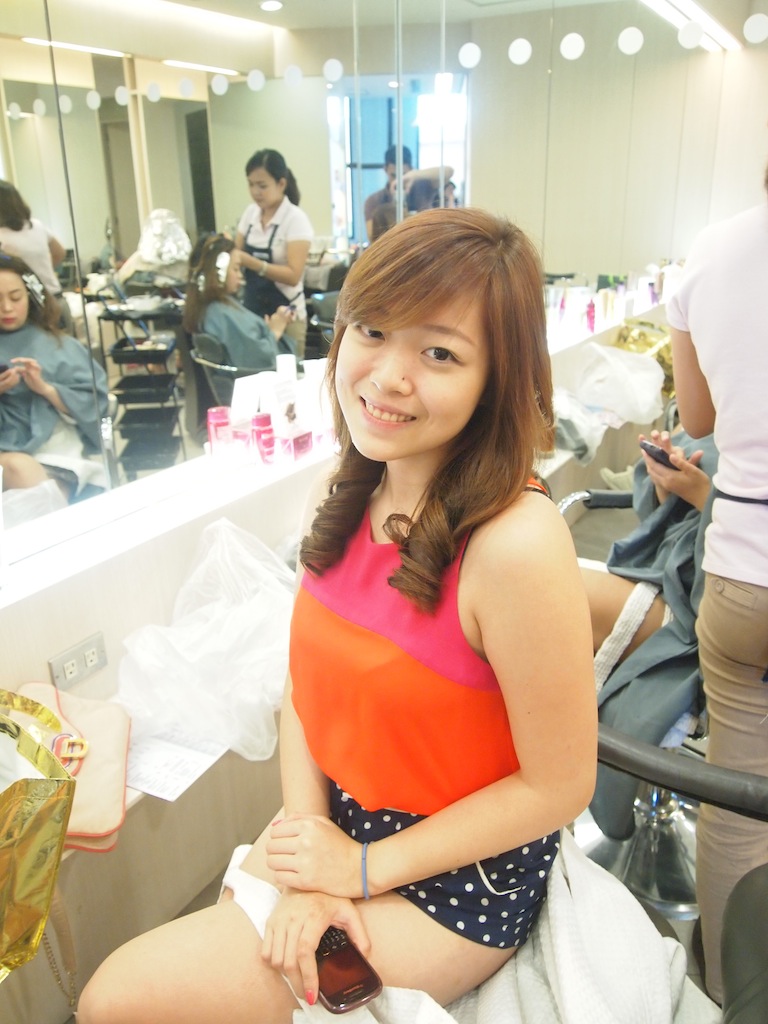
no makeup


after the 3 steps..voila! I only put the products from above and look how much of a difference it makes from my bare face! :)
what do you think?? :)
xoxo,

For more updates, like my page on facebook here!
Follow me on twitter! :)
Follow me on instagram!


")