fbpx
Follow:
Browsing Category:

Beauty

    Beauty, Works

    MAXIEISSUPER x Ateneo LEX

    1238946_627908600582249_1827436000_n

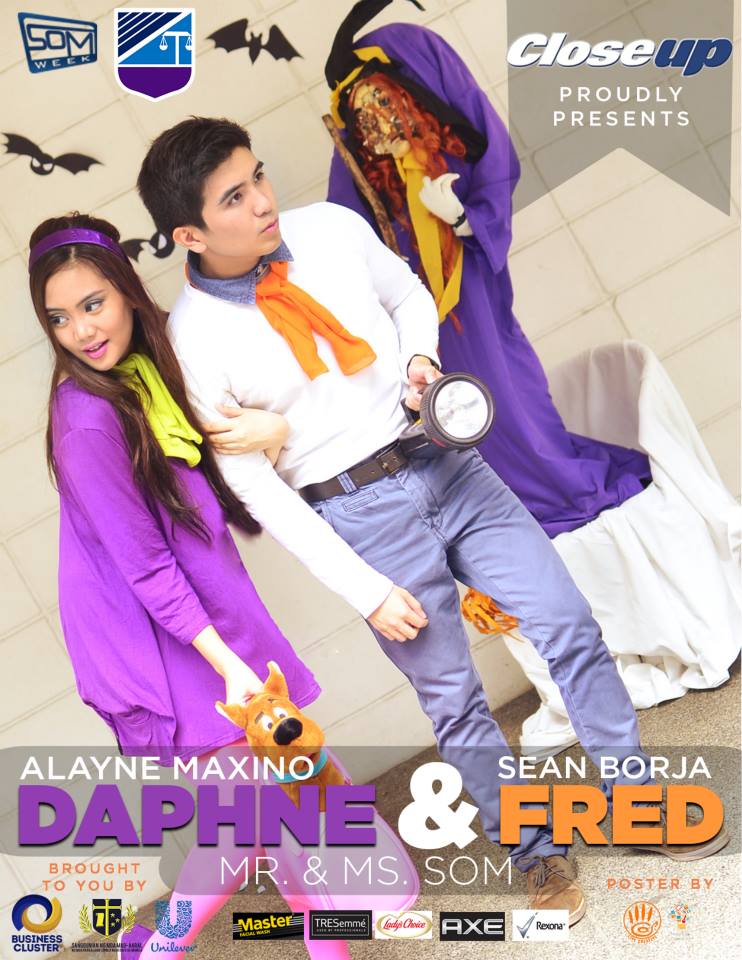
    My gorgeous friend Alayne recently contacted me and asked me if I could do her makeup for her Mr. and Ms. SOM (School of Management) photo shoot. She is such a sweet heart and a dear friend of mine so I gladly accepted the offer. I was the official makeup artist for last year’s Ms. SOM winner from AJMA ( Ateneo Junior Marketing Association) and it was a lot of fun but this year’s a lot more special to me because Alayne is a dear friend. :)

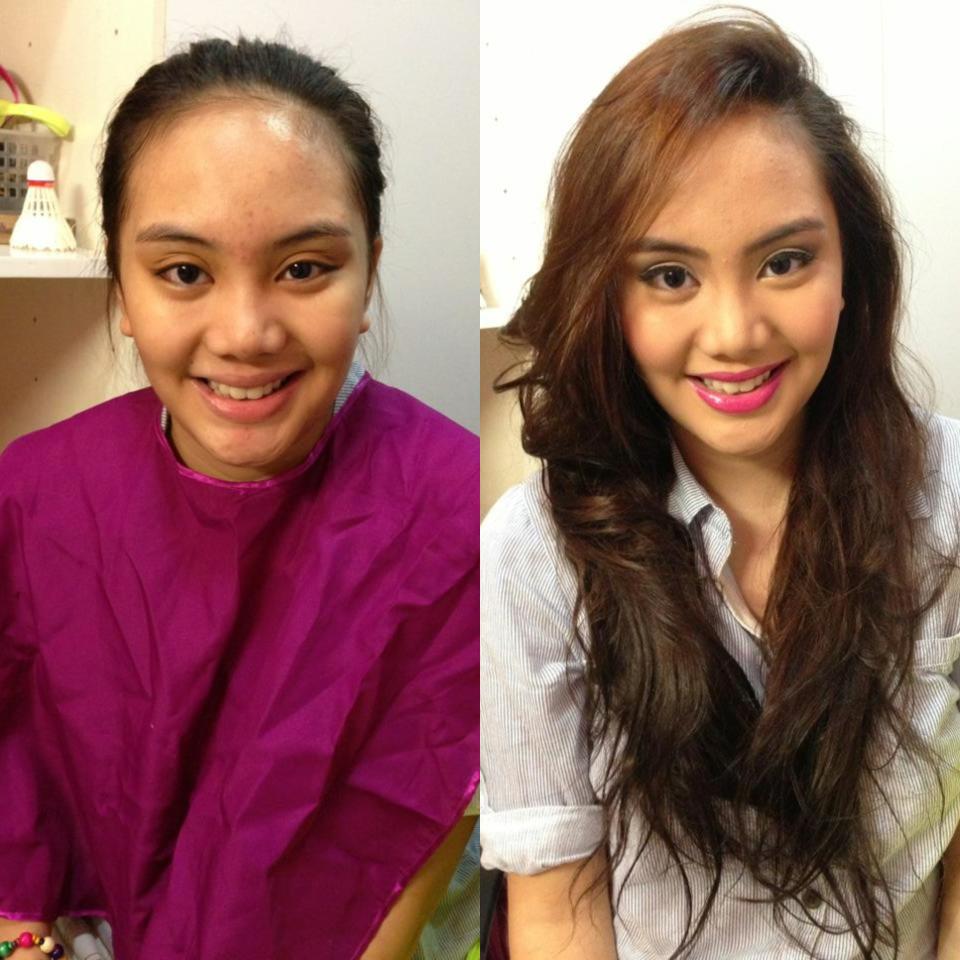
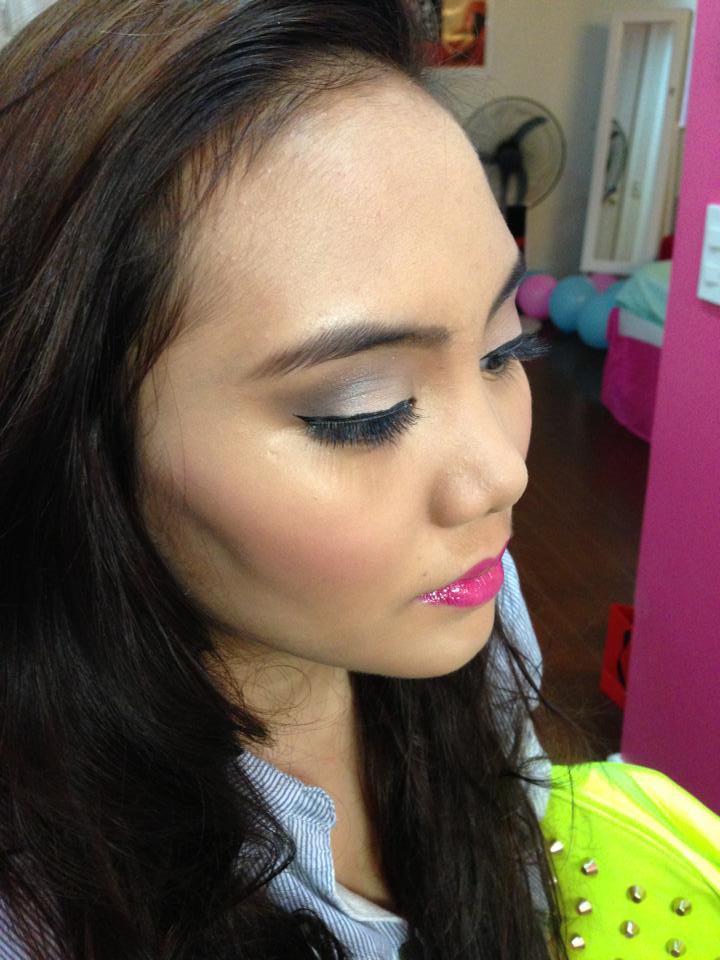
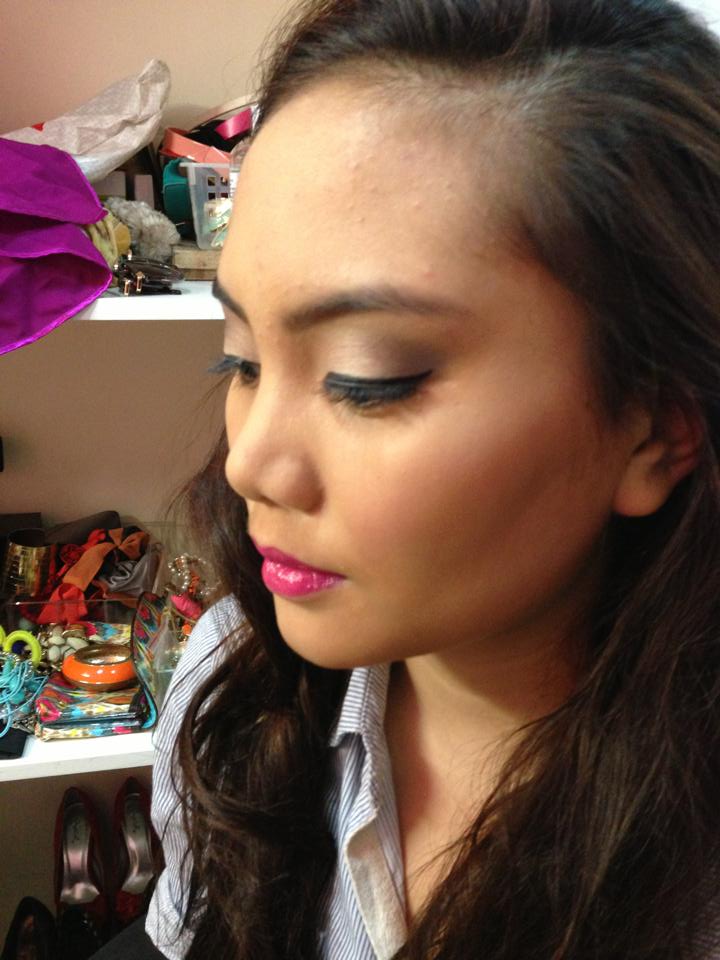
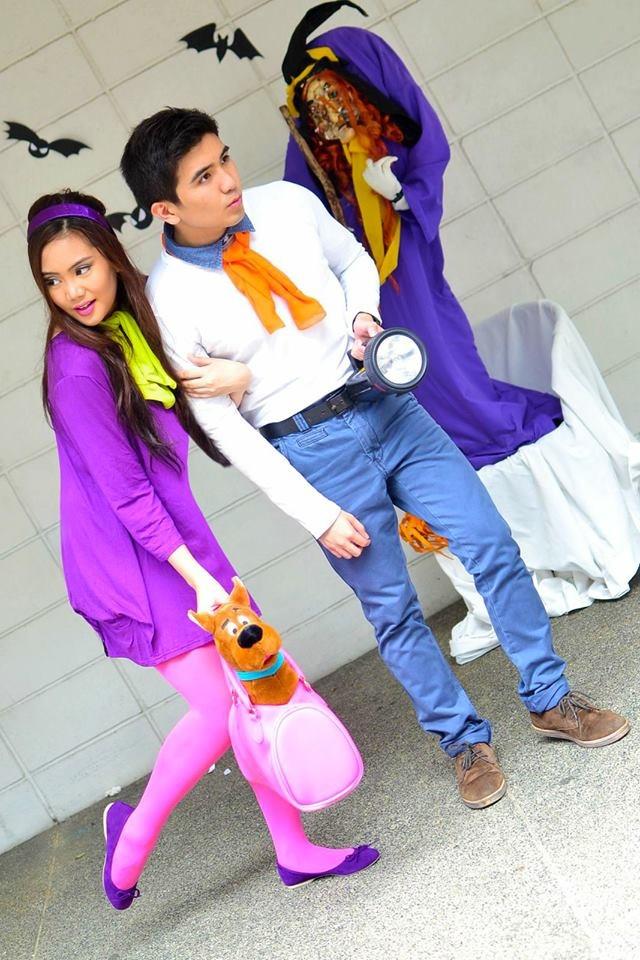
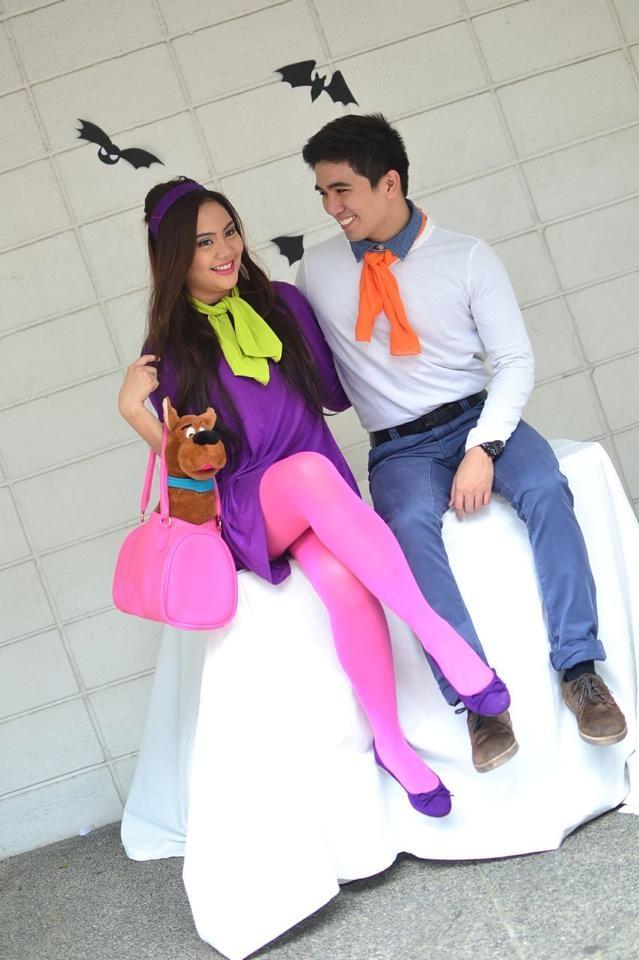
    She’s playing Daphne from Scoobydoo. Here’s the before and after photo:

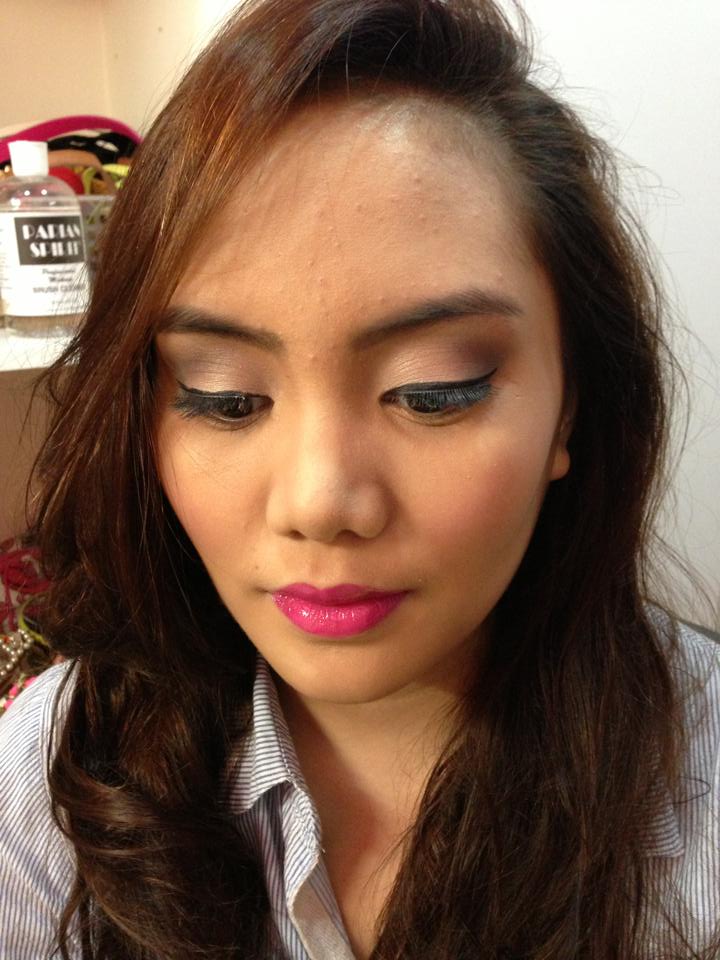
    I decided to go for a neutral eye look using my Urban Decay 15th Anniversary Palette and paired it with bold hot pink lips using my favorite lipstick from Avon’s newest collection, Ultra Color lipstick in Hot Pink.

    As a makeup artist, it was such a breeza working on Alayne. She has “flat eyes” and flat eyes are the easiest to do eye makeup on. She also has gorgeous and full lips which made lipstick application very enjoyable.

    Some photos from the shoot:

    DON’T THEY LOOK ADORABLE?! 

     THEIR FINAL POSTER. :) Don’t forget to vote for the ADORABLE couple by liking their photo on facebook here.

    It was such a pleasure being part of Mr. and Ms. Lex’s team and I feel really amazing about final poster. :)

    Other products that were used on Alayne were:

    • revlon photoready foundation
    • MUD concealer
    • TheBalm Bahama Mama
    • NARS Orgasm
    • K-Palette liquid liner

    What do you guys think? :) Interested in collaborations? Email me at maxinemarcelino@gmail.com for inquiries! :)

    xoxo,


    For more updates, like my page on facebook here

    Follow me on twitter! :)

    Don’t forget to follow me on instagram!

    Share:
    Beauty, Reviews

    Review: Art Deco Glam Couture Eyeshadow

    OLYMPUS DIGITAL CAMERA

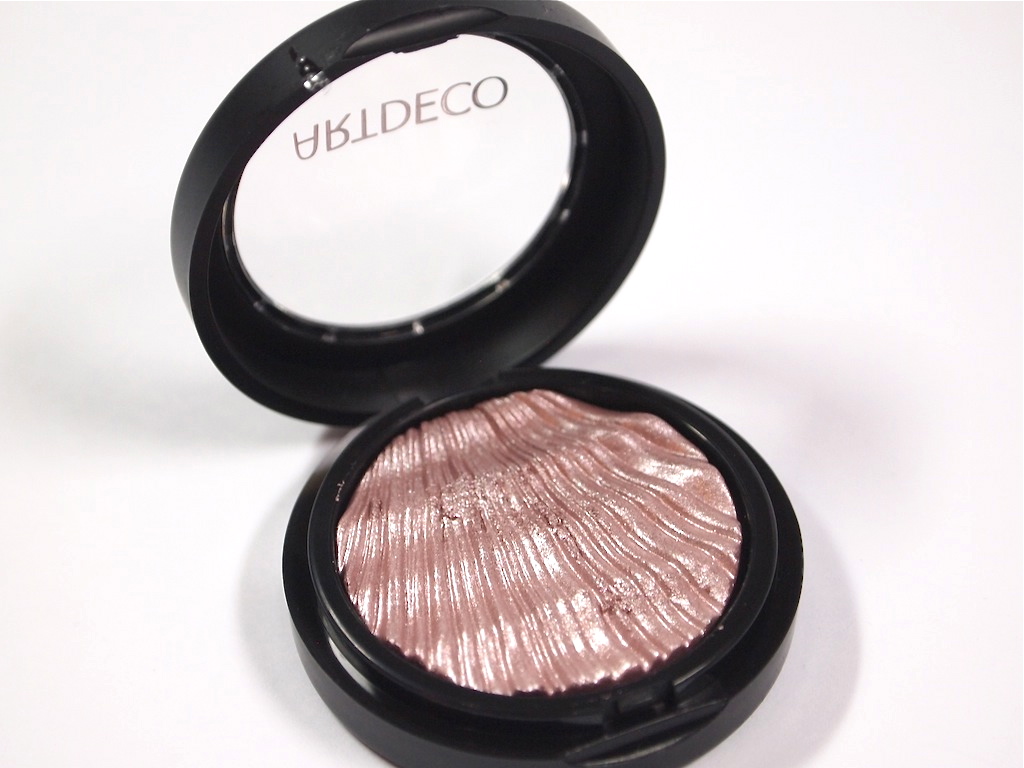
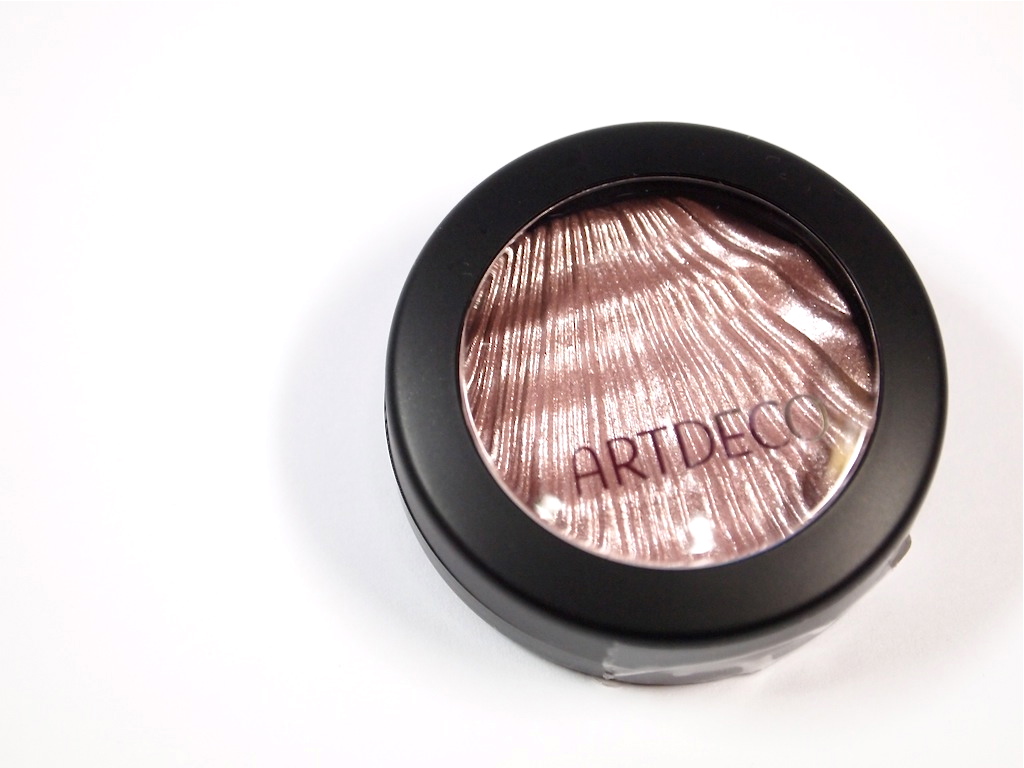
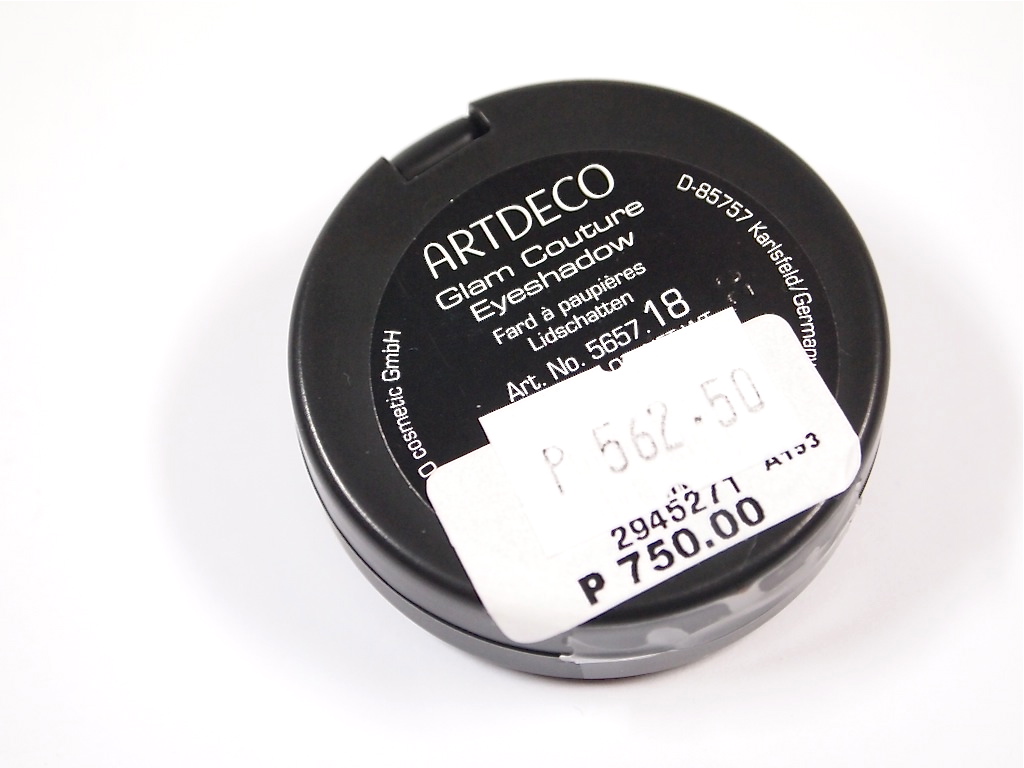
    During the last time I went shopping at Beauty Bar, I purchased an eyeshadow from a relatively new brand: Art Deco. I was drawn to their GORGEOUS eyeshadows because of the beautiful engravings that they had! I found out that they were on sale too! The eyeshadows were priced at 562.50php from php750! I just couldn’t resist and I gave in. I decided to purchase the Art DEco Glam Couture Eyeshadow Art No. 18 Glam Precious Rose. There were 6 other colors, if I’m not mistaken.

    What I Love

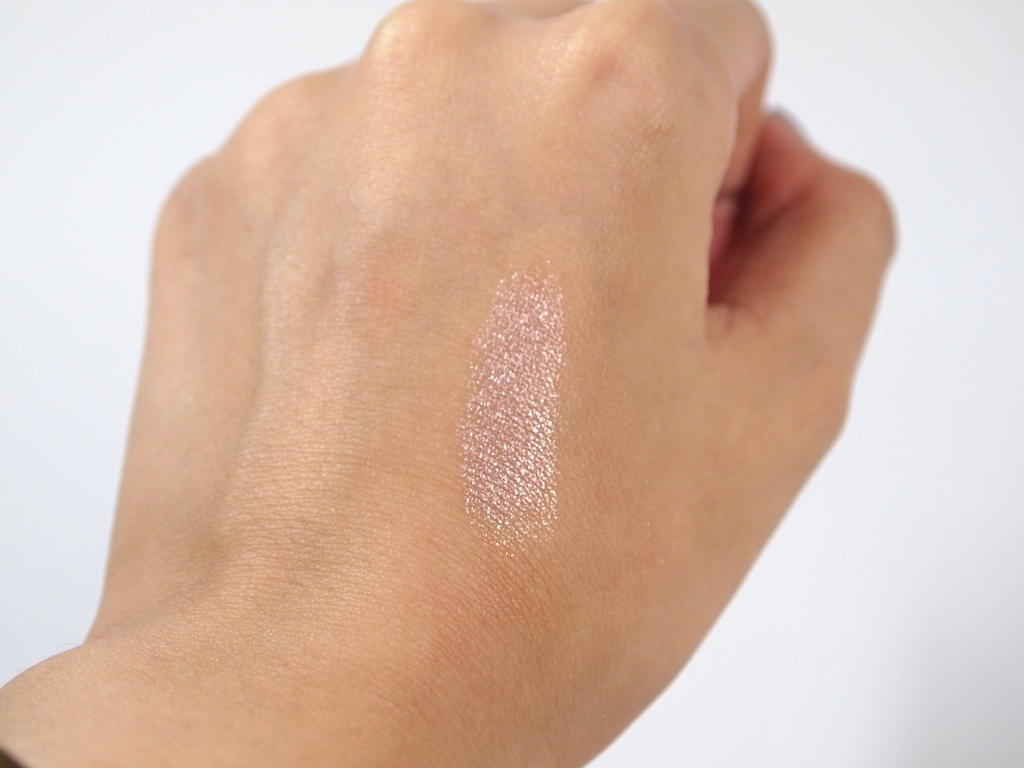
    The eyeshadow is enclosed in a black plastic casing and it reminds me a lot of the packaging of MAC eyeshadows. Like its name, the shade is a gorgeous rosey champagne color. The engraved design on the eyeshadow is so intricate and pretty; it reminds me of how sea shells look like! The engraving reminds me of the engraved designs on MAC’s 2013 holiday collection as well, actually. The eyeshadows is laced with tiny shimmers (not the horrible chunky kind of glitter) and swatches beautifully. It’s very pigmented, feels like butter on my fingertips and transfers beautifully onto my lids!  It lasted around 8 hours on my lids on top of a primer, give or take.

    What I don’t like

    The eyeshadow may be a bit too soft. The small damage that you can see on the eyeshadow was caused by my finger nail. After his mini accident, I’ve made a mental note to myself to be extra careful not to drop this baby.

    Final Thoughts

    This is such a gorgeous shade and I’m actually considering to purchase the other shades! I love how the shadow feels so luxurious on my fingertips and is such a dream to apply! It’s considerably cheaper than other high end brands yet it matches the performance of my high end eyeshadows. It’s something that I would use as an overall color on my lids or something that I’d use to highlight the tear ducts on my eyes. I love it!

    xoxo,


    For more updates, like my page on facebook here

    Follow me on twitter! :)

    Don’t forget to follow me on instagram!

    Share:
    Beauty, Reviews

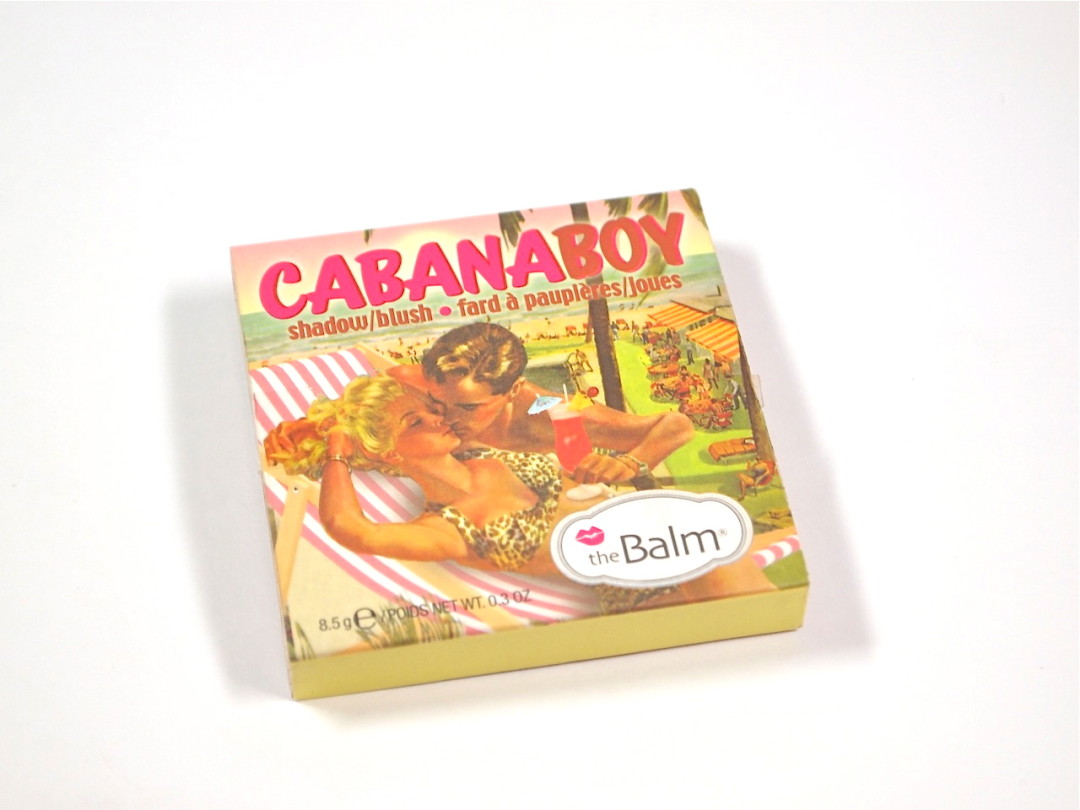
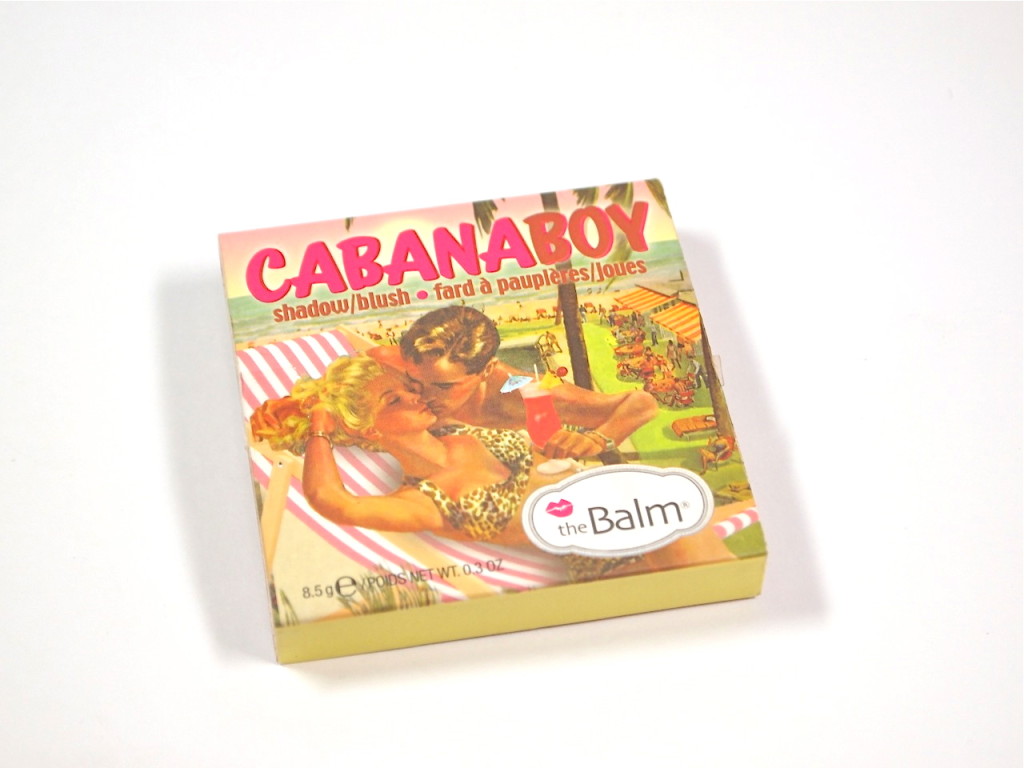
    Review: theBalm Cabana Boy

    OLYMPUS DIGITAL CAMERA

    I recently haven’t been going into Beauty Bar because I felt like the items there haven’t been being updated very much. I was with my girlfriend when I decided to take a chance and check out the items. I went to theBalm Cosmetics counter and swatched a couple of their products. TheBalm is known to be a considerably high end brand that sells affordable cosmetics. Ever since I fell in love with their bronzer, Bahama Mama, I’ve been wanting to try out their blushers. They had 3 blush selection but I went for the most peculiar shade of the three: Cabana Boy. The other two are Down Boy (cool pink) and Frat Boy (warm pink)


    Product

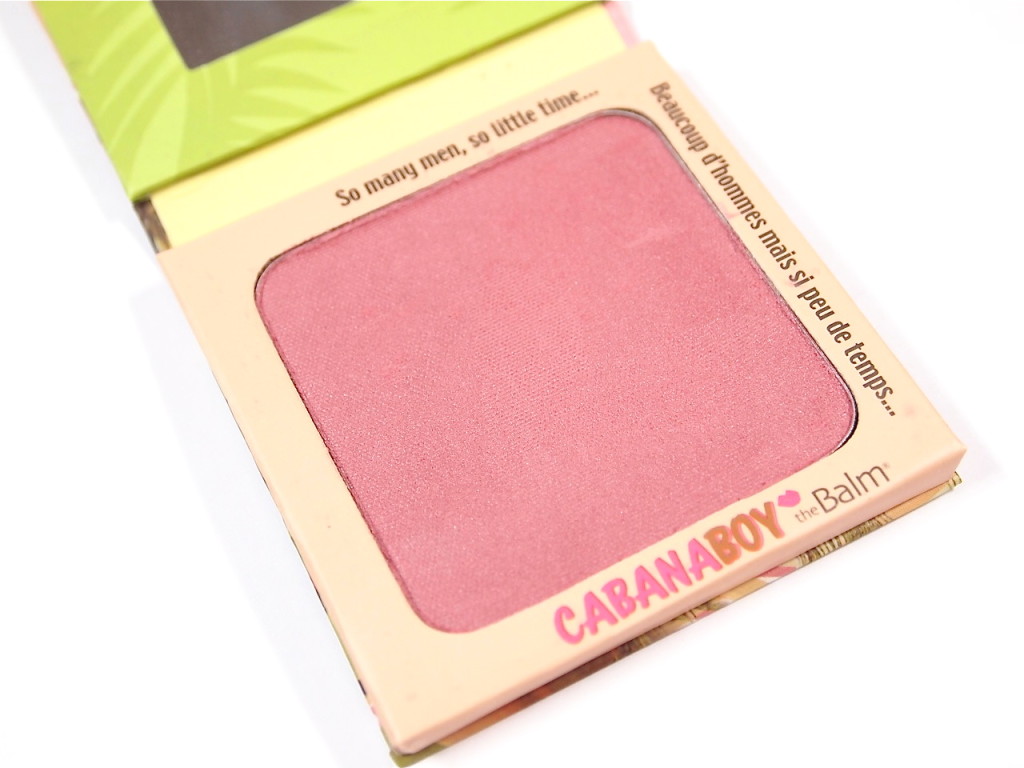
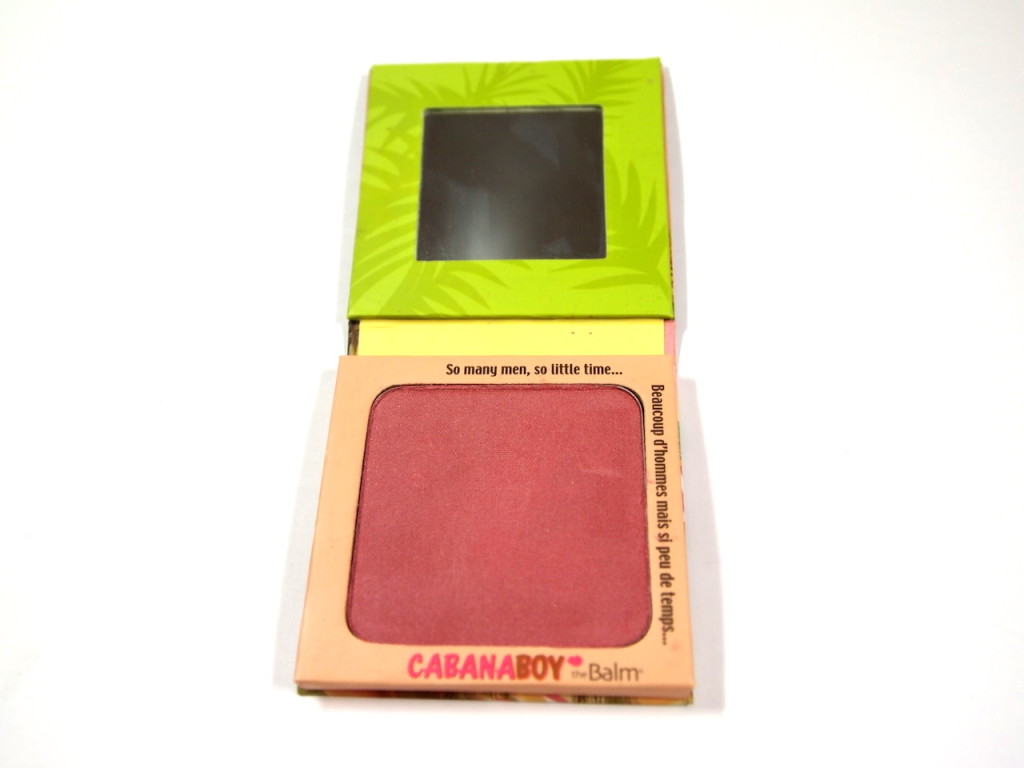
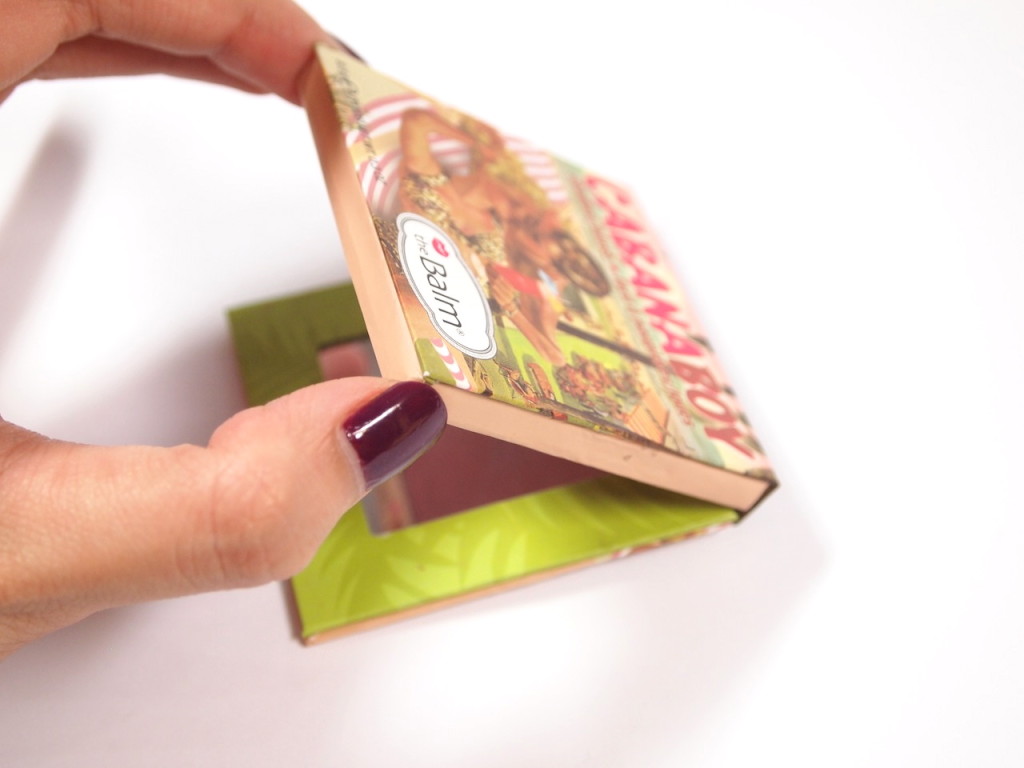
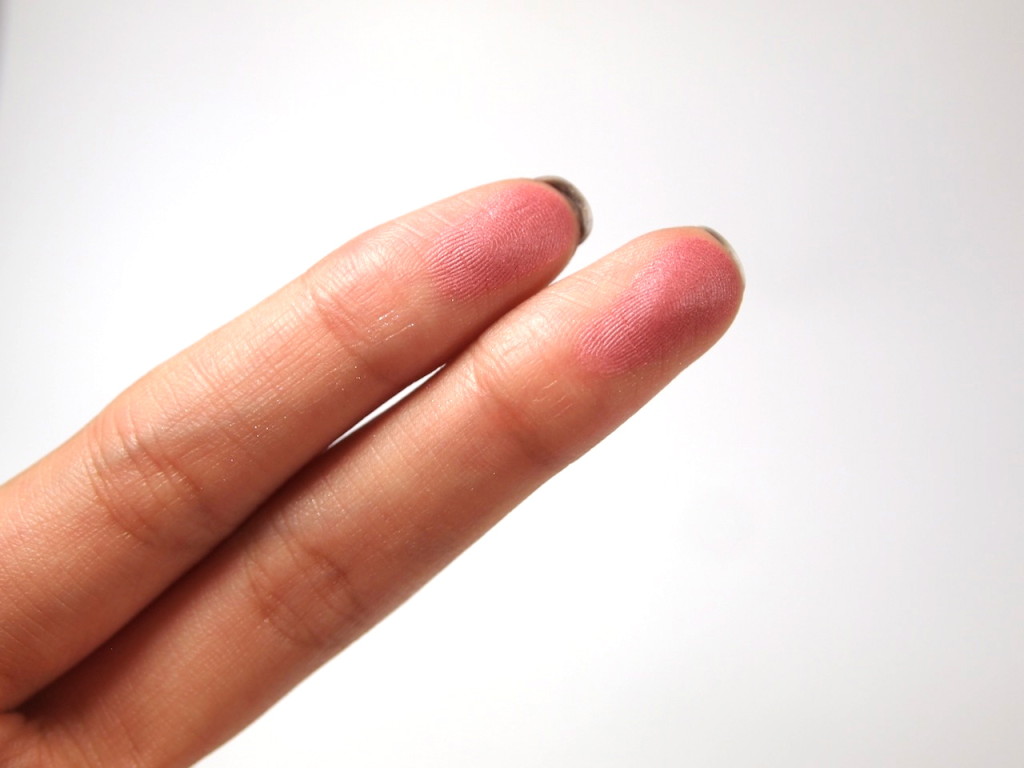
    Cabana Boy is raspberry colored pink that has a super tiny hint of shimmer in it. It’s housed in a no-fuss magnetic cardboard packaging. It has a considerably large mirror as well which I think is very useful. The design is very cute and it goes according to the retro theme of all theBalm cosmetics.

    What I Like

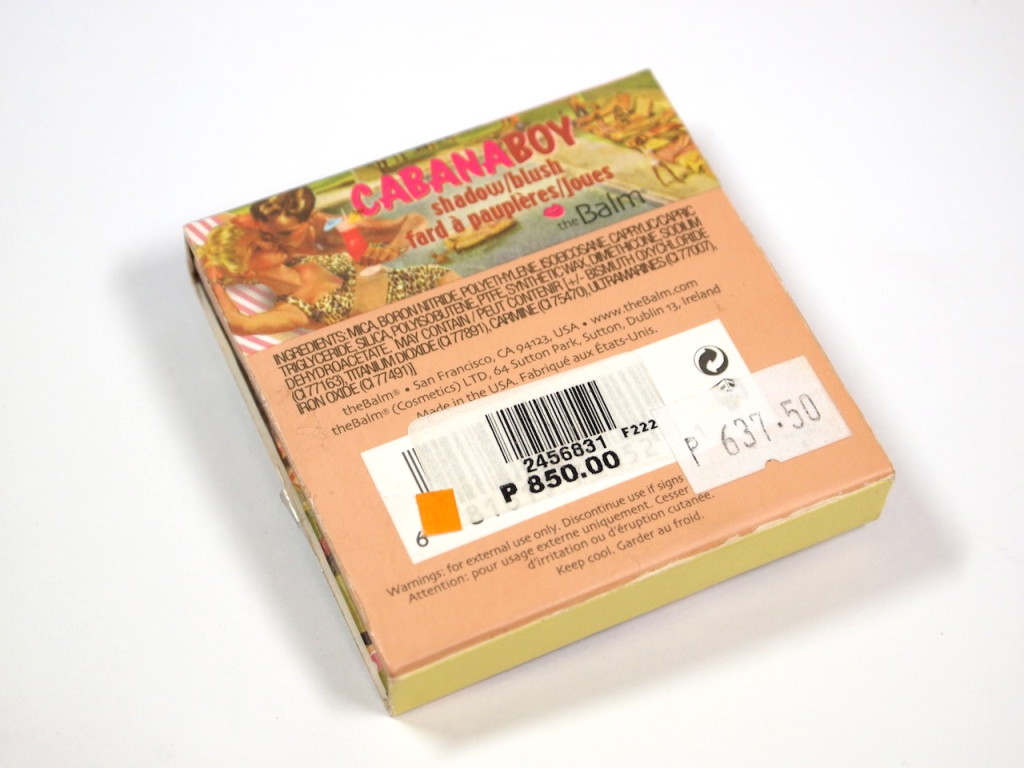
    This shade is very gorgeous and it suits my skin tone very well. The product itself is very silky and easy to apply. It is also very pigmented and I would recommend the use of a very light hand for a perfect rosey glow on the cheeks. Also, I got it for 20% off its original price (STEAL!!!I got the only one they had. hehe) because of a product packaging error. The mirror and the blusher got switched places but I really don’t mind because as a beauty blogger, I like trying out new things. I don’t think the actual product was compromised despite the packaging error. It costs $21 in the US and the original price here in the Philippines is Php850. The exchange rate as of today is 44.6 making the Cabana Boy Blush cost around Php 936.6 if you buy it in the States. I feel so proud of this purchase.HAHAHA. I got it for php637.50 by the way. :)


    What I don’t like

    I have nothing to say here!! THIS PRODUCT IS SUCH A STEAL.

    Swatches

    Final Thoughts

    I really like this blush! It’s something that I can wear everyday and I can see that it can wear well on both fair-skinned and tanned women. Plus, this is the first time that I’m going to say this. It’s actually cheaper to buy it here than in the States! Good job, Beauty Bar! :)

    xoxo,


    For more updates, like my page on facebook here

    Follow me on twitter! :)

    Don’t forget to follow me on instagram!

    Share:
    Beauty, Reviews

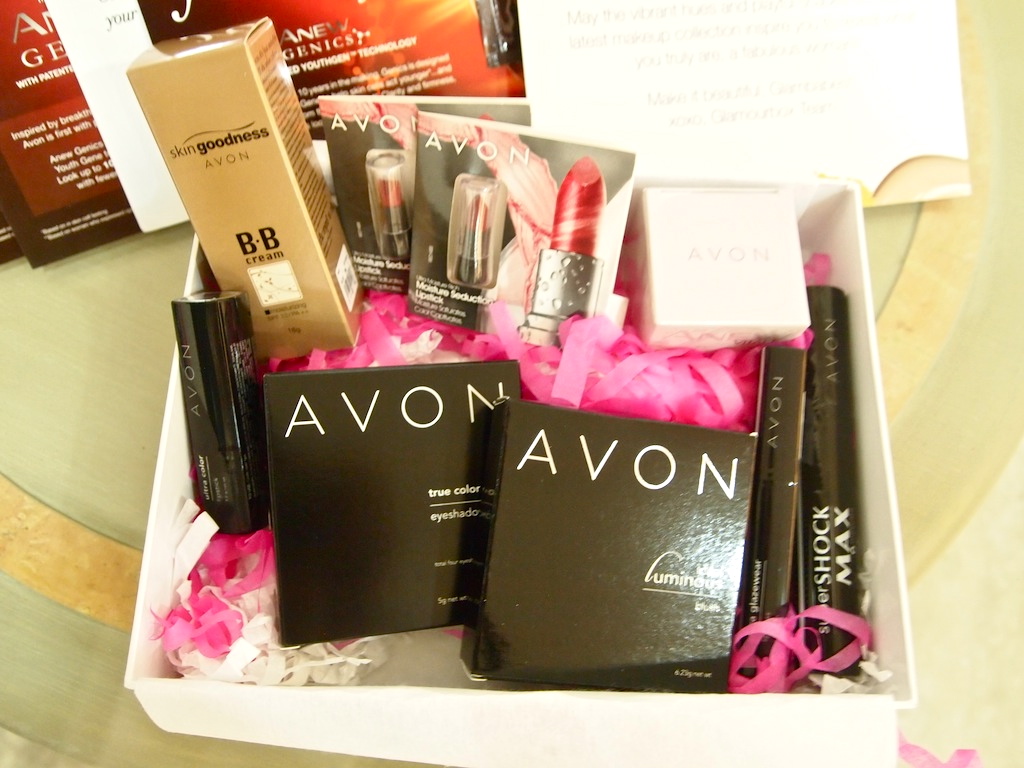
    Unboxing: Avon Special Edition Glamourbox

    OLYMPUS DIGITAL CAMERA

    Hi everyone!

    I know this is quite late since half of the month has passed. I’ve been a bit busy but I’ve finally gotten the chance to write down my thoughts on Glamourbox’s special edition Avon box. I was really excited when I received this box because it’s my first beauty box subscription. I’m glad that I was able to see some reviews on the box before I decided to take the plunge and purchase this box too. :) The box arrived a few days right after I placed my order which was very nice. Anyway, let’s dig in to the box and see what’s inside! :D I will be reviewing the box in general and will be writing individual reviews for most, if not all the products in the box on my future posts.
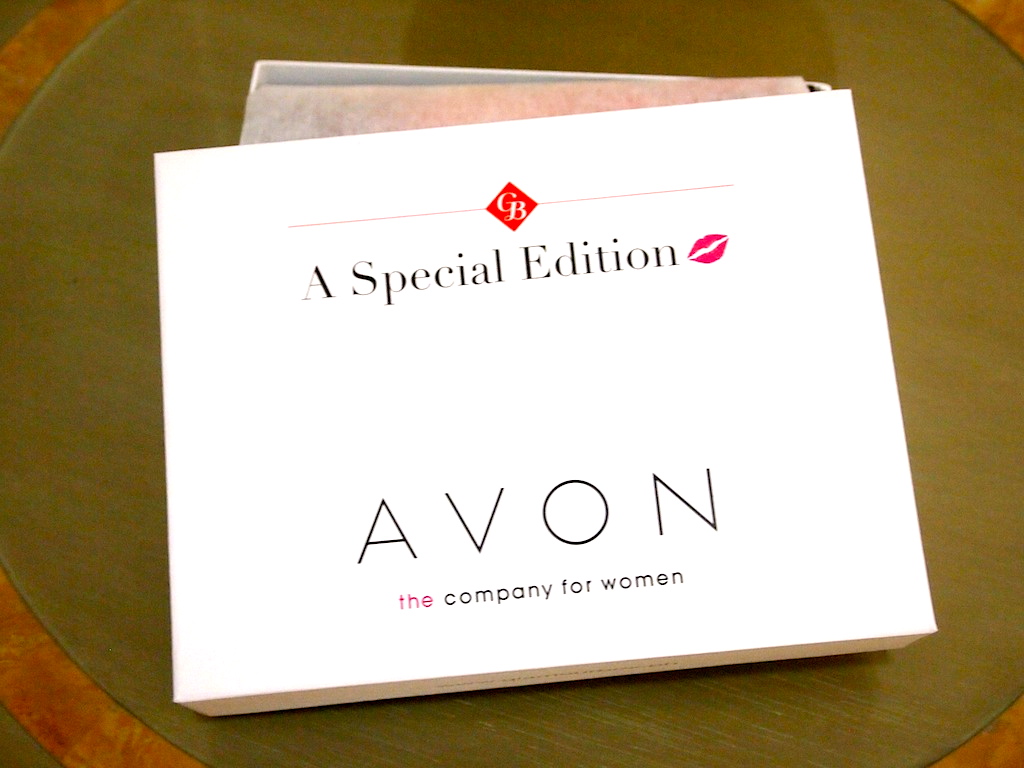
    I was so excited to receive such a pretty, chic and simple white box. I’d like to note that the box is well-made and sturdy. I’ll be using it again to put miscellaneous stuff (it would be such a waste to throw this pretty box away)!
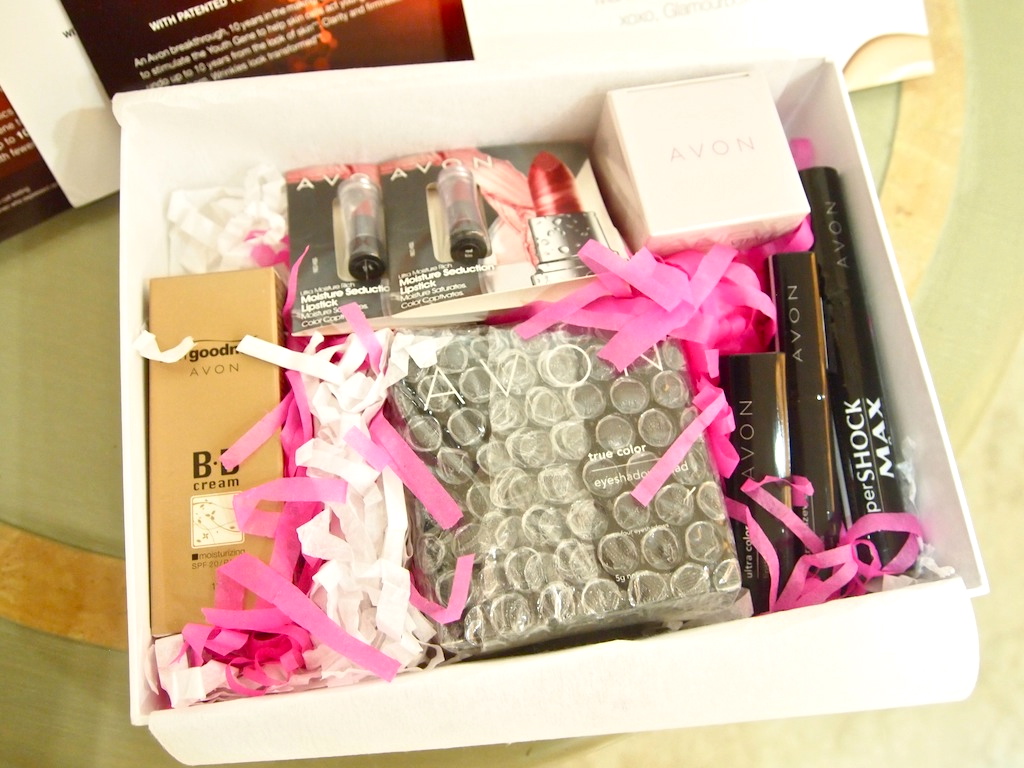
    The box includes a whopping total of 12 items; 6 of which are FULL SIZED products while 6 of which are sample sized items:
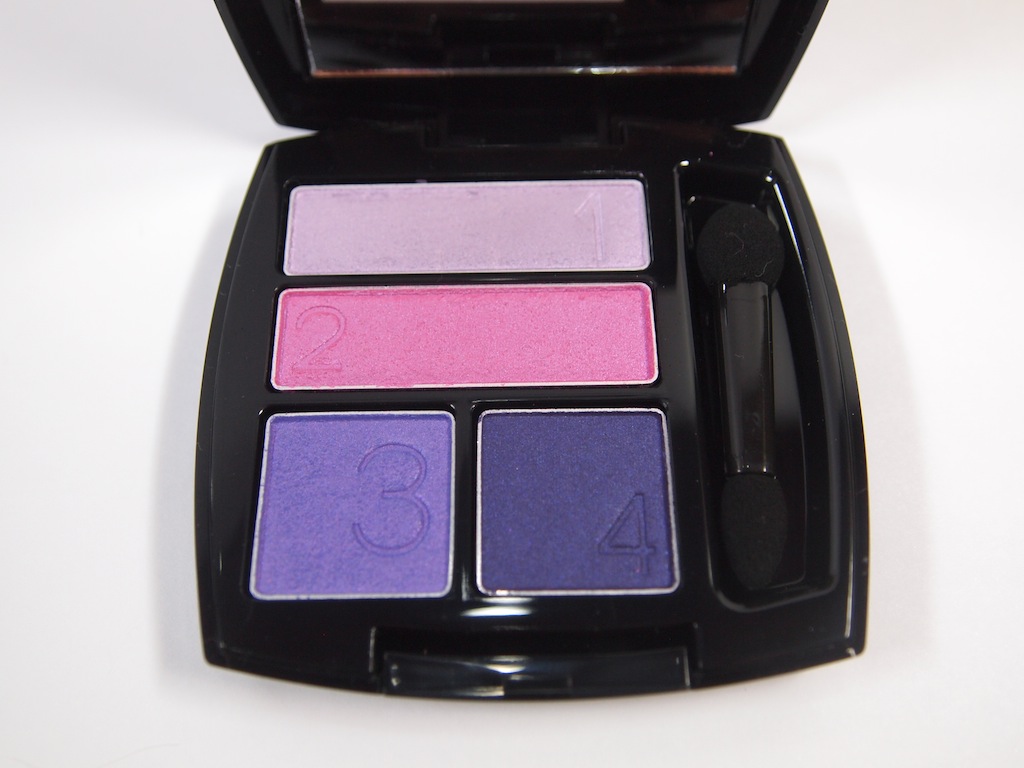
    Avon True Color Eye Shadow Quad in purple pop P449

    This is a gorgeous eyeshadow quad and it’s the same quad that I used for my Avon You Make It Beautiful Blogger Challenge. I enjoy using colors like these but I think more people would be drawn to a neutral palette. :)
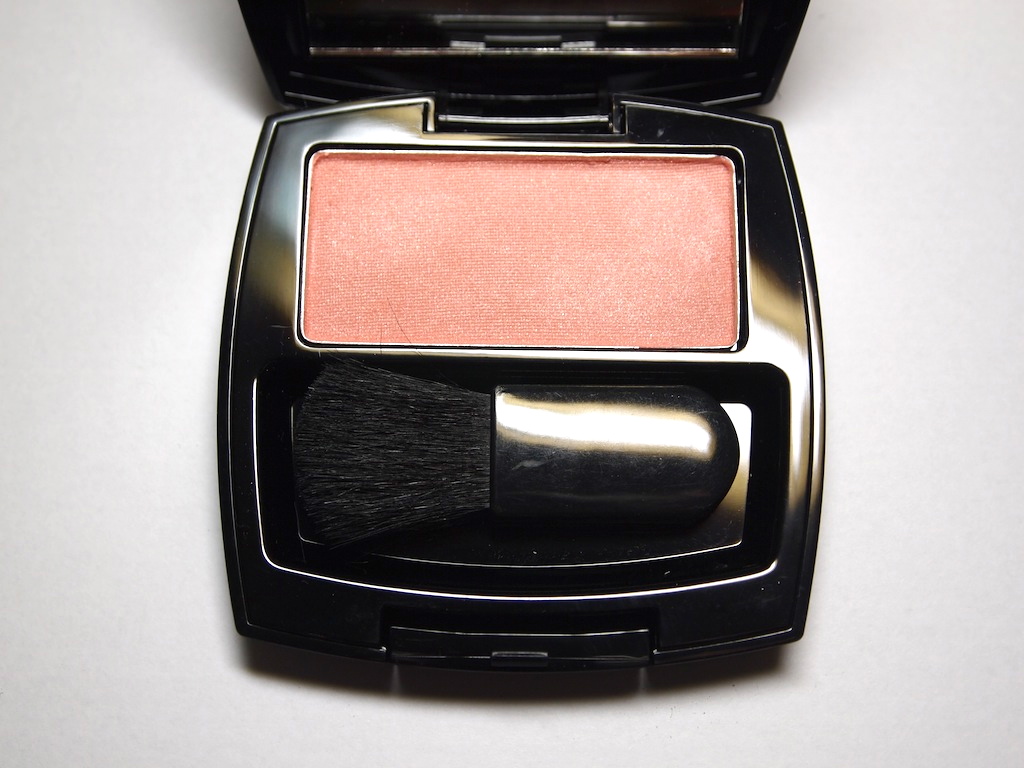

    Avon Ideal Luminous Blush in Peach (P370)

    This is a gorgeous shade! At first glance, it reminds me of NARS orgasm. Wait for me review on this and you’ll find out if this is a dupe for NARS orgasm.
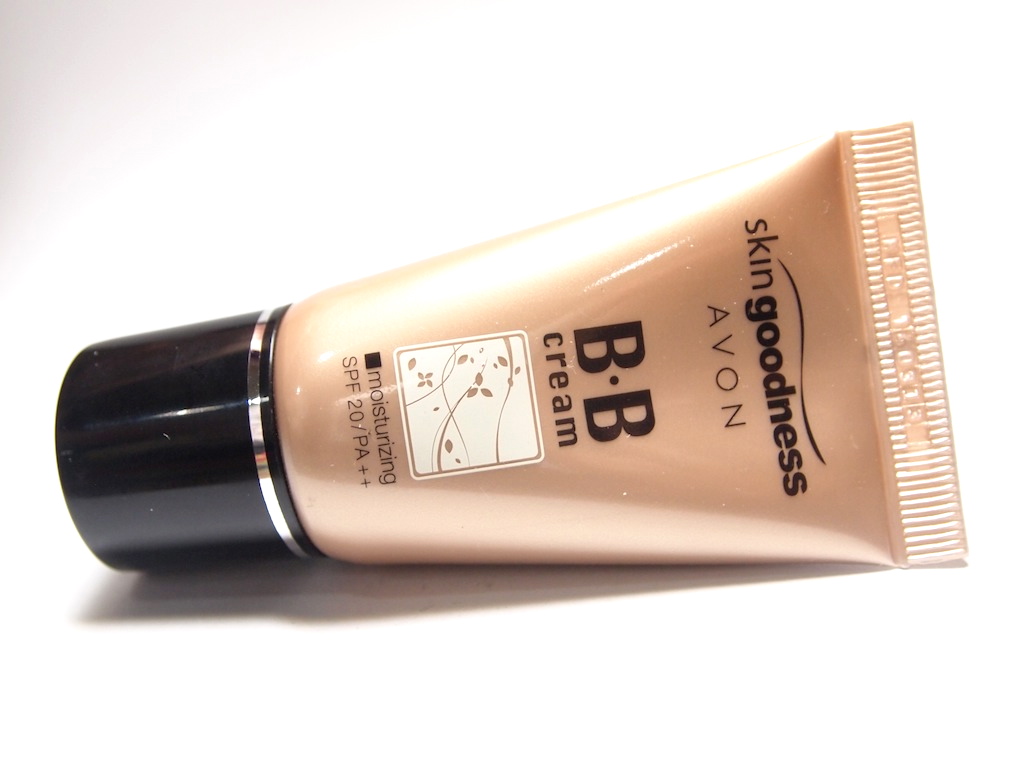
    Avon Skin Goodnes Moisturizing BB Cream SPF2-++/PA in shade o2 (P420) 

    I’m on a lookout for a new BB cream so I got really excited when I saw that the box contained a BB cream. :) This was a little bit dark for me but I’ll review this further on a separate blog post.
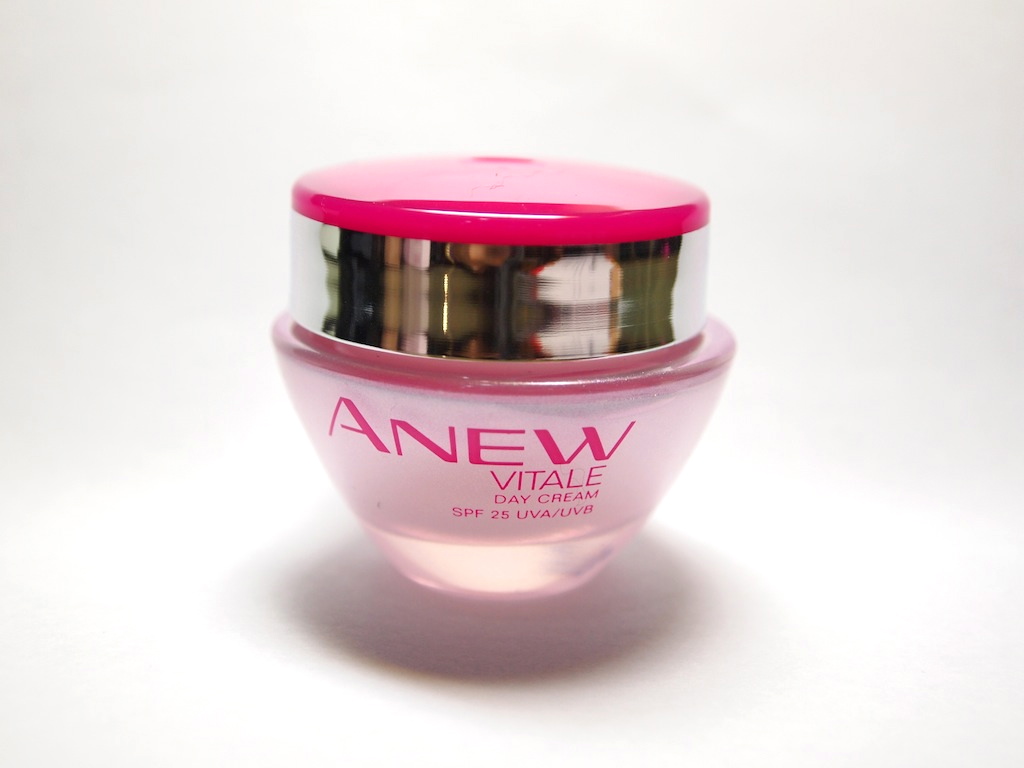
    Avon Anew Vitale Day Cream (p399)
    I’m also really into skin care right now so I’m excited to try out this moisturizer! :)
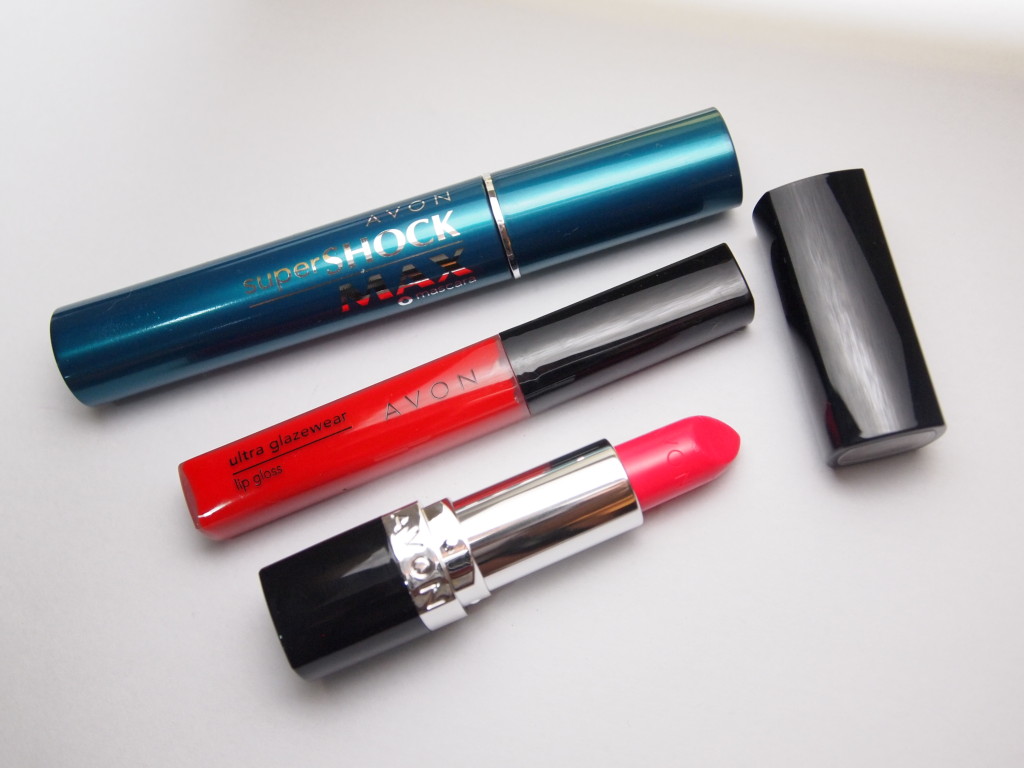
    From top to bottom: Avon supershock waterproof mascara in Black (p420), Avon Ultra Color Lipstick in Hibiscus (p379) and Avon Ultra Glazewear Lip Gloss in Fiery Red (p299)
    This mascara was in my kit for Avon’s You Make It Beautiful Blogger Challenge so I already had a chance to try it out. I’ll probably give it to a friend of mine to try out. :) What I was most excited about in this box is the  Avon Ultra Color Lipstick in Hibiscus and Avon Ultra Glazewear Lip Gloss in Fiery Red because I LOOOVED the lip products that I was able to try from my kit in the blogger challenge I recently participated int. I’m glad that the lipstick and gloss that was included in this box are a bit similar shade-wise so they can be used together. :)
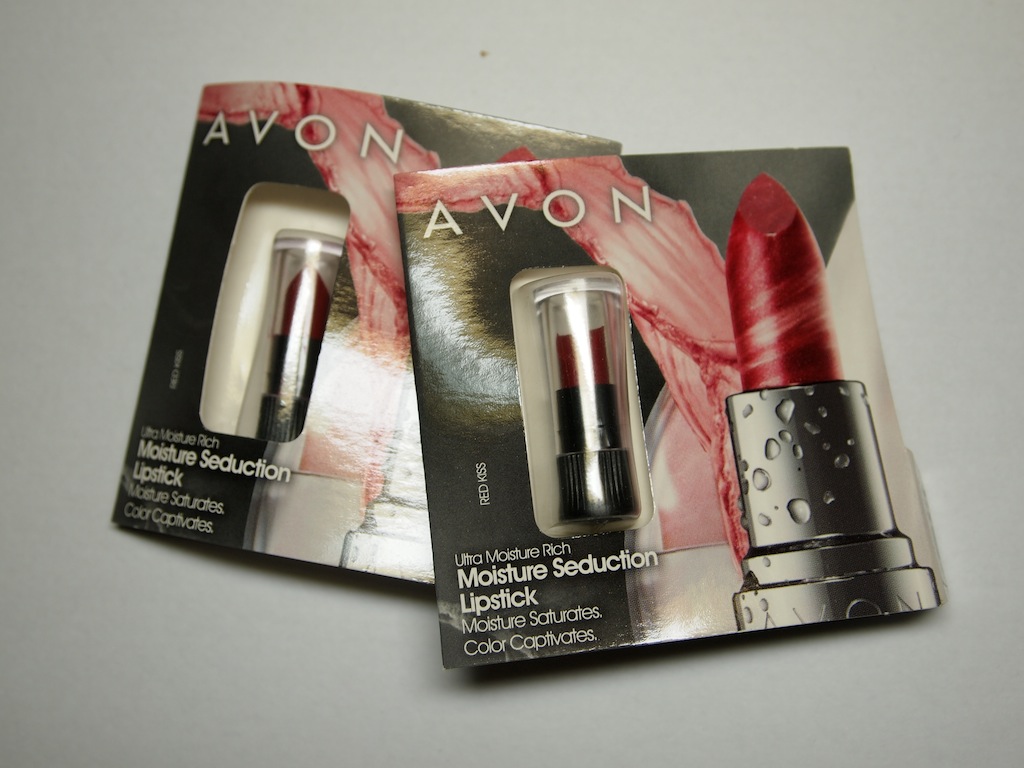
    The box also included 2 sample sized Ultra Color Rich Mega Lipstick in Charged Cherry and Ultra Moisture Rich Moisture Seduction lipstick in Red Kiss. The boxed contained four more sample sized products which where the Anew Genics Treatment Concentrate, Anew Genics Cream, and the Anew Genics Eye Cream. I wasn’t able to take a photo of these because my camera ran out of battery. </3
    Final Thoughts
    Wow. This is an excellent box considering the huge amount of products that it contained! For only 595 pesos, you get an astonishing amount of P2316 worth of products!!! What’s more exciting about this is that the products that come in this box are the same products from their LATEST collection. This box is perfect for Avon newbies who want to try out a wide range of Avon in one go and also for Avon lovers who want to try out products from Avon’s latest makeup line. This box has a great selection of beauty products. The products range from skincare to items that give you a full makeup look– his box has got you covered! I heard that they still have a couple of stocks left! Grab one while you still can. :)
    Subscribe to Glamourbox Philippines now! :)

    xoxo,


    For more updates, like my page on facebook here

    Follow me on twitter! :)

    Don’t forget to follow me on instagram!

    Share:
    Beauty, Reviews

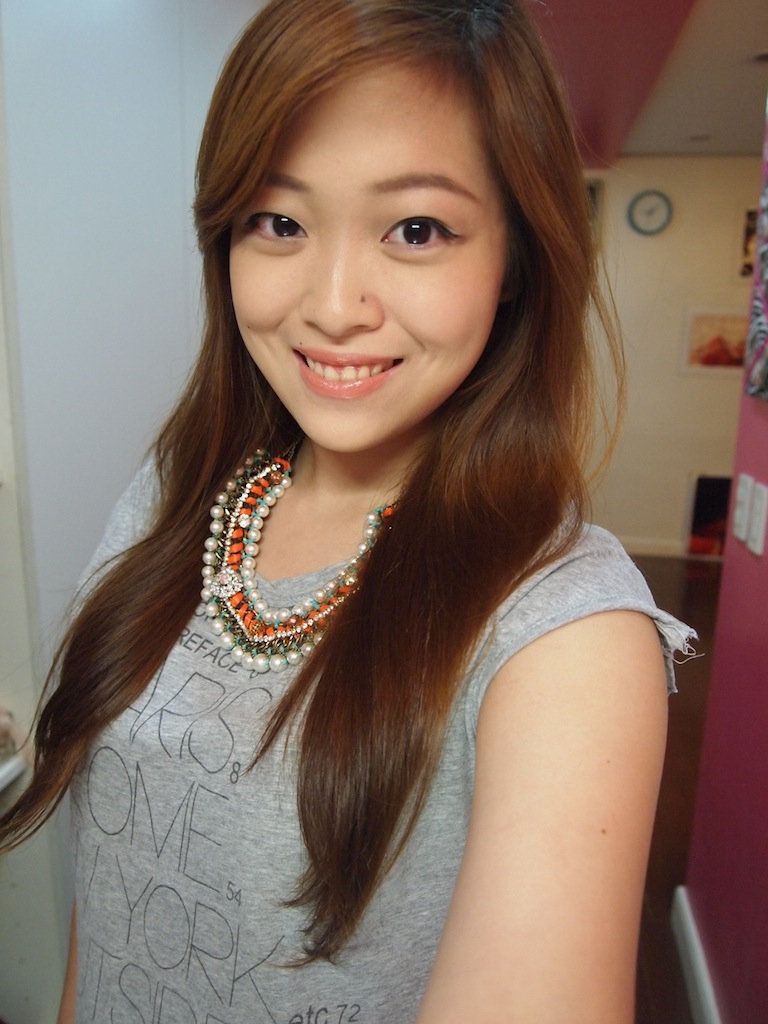
    Review: Ben Nye Banana Powder

    OLYMPUS DIGITAL CAMERA

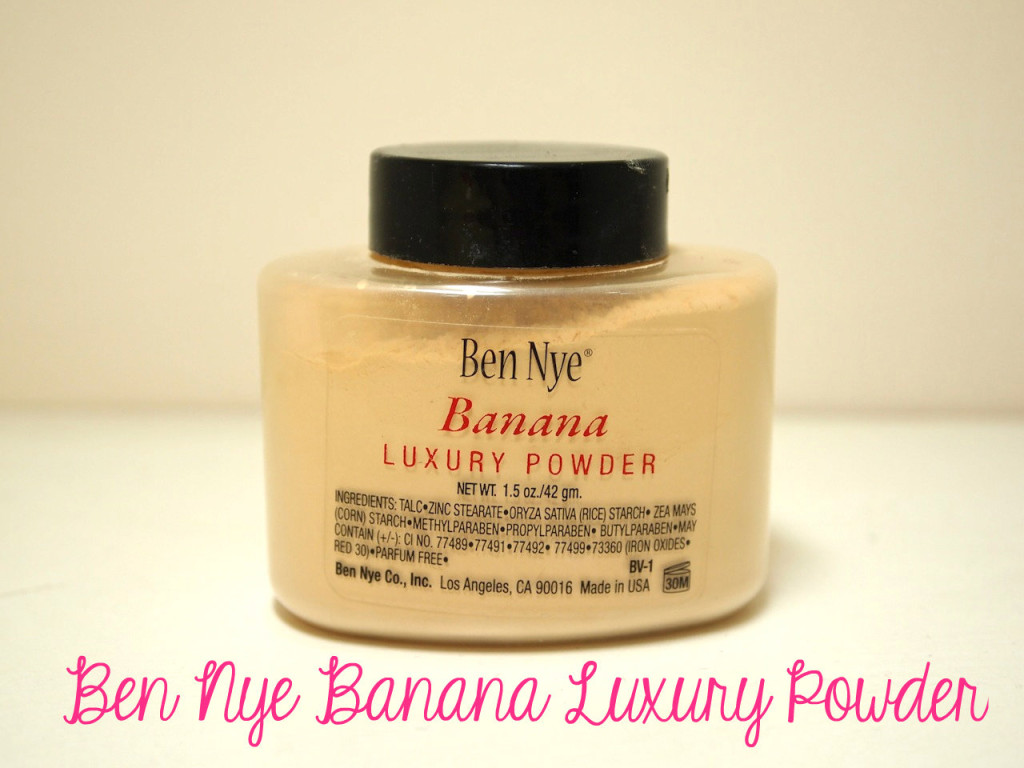
    I found out about the Ben Nye Banana Powder when I was taking up my certificate course in make-up at MUD. My teacher, Ms. Georginna Desuasido recommended the Ben Nye Luxury Banana Powder as a nice finishing powder. I decided to try it out. Right about the time that I bought my bottle, I started noticing that the product was selling like hot cakes on my Facebook and Instagram feed. I decided to check it out and I found this photo:

    OH MY GOSH. I found a lot of images online but I think that this is the best photo that could explain why the Ben Nye Banan powder is so popular right now! I’m pretty sure both Kim K fans and haters who will see this photo is most likely going to buy themselves a bottle of this “miracle” powder. Scroll down to hear my thoughts on the product! :)

    Product


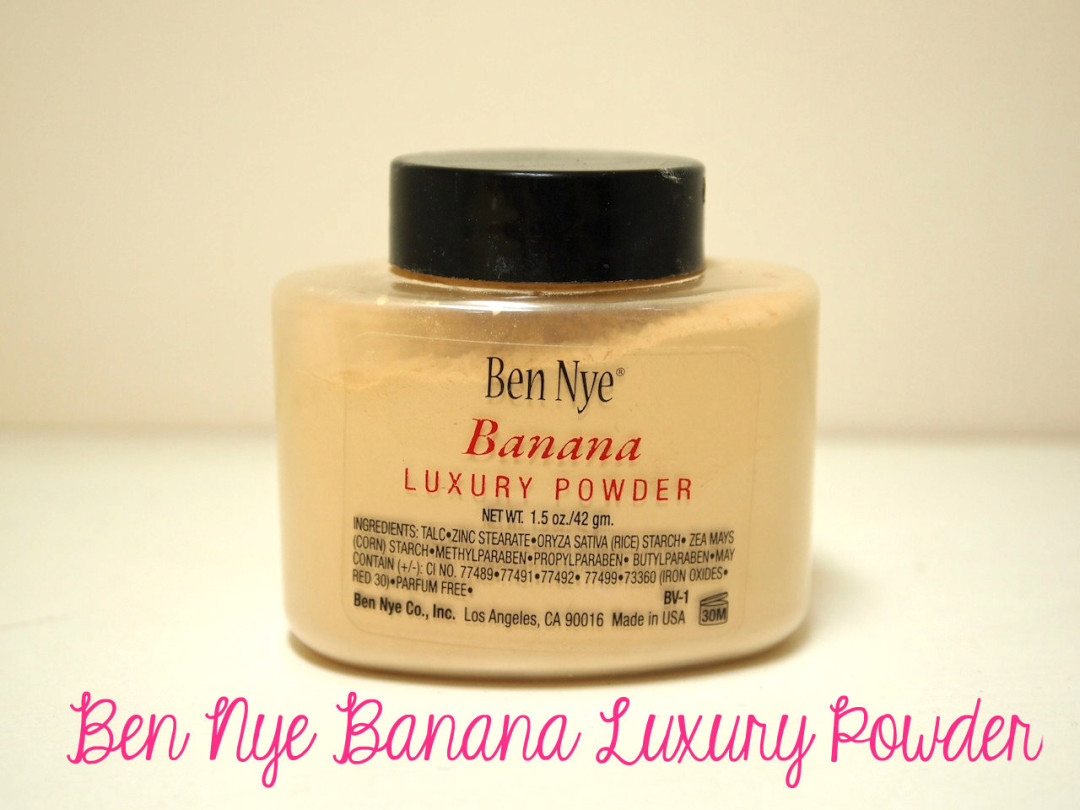
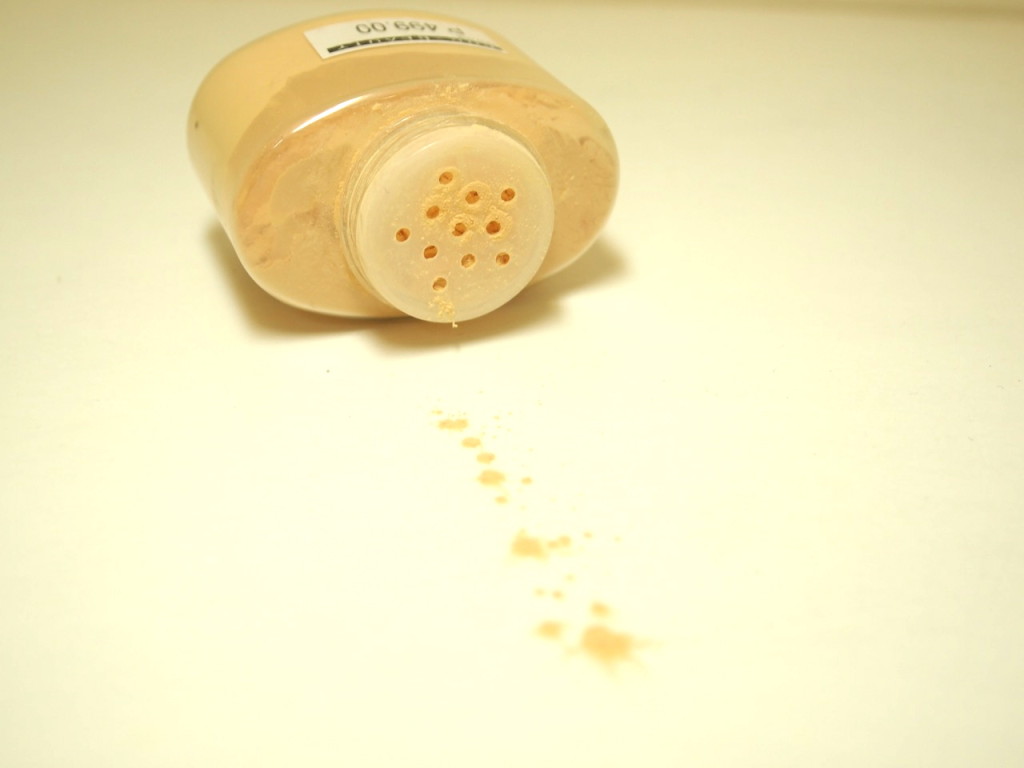
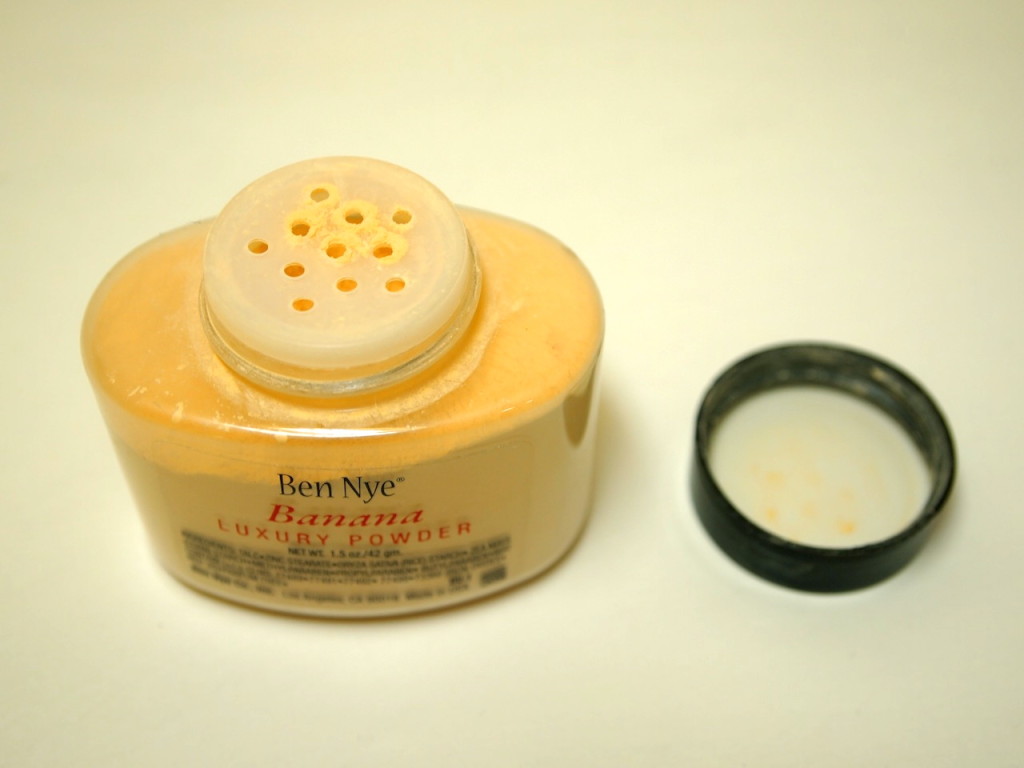
    The product is a yellow based translucent powder that is housed in a clear plastic white bottle/jar. It doesn’t look like the usual setting powder that you are used to seeing because there is nothing glamorous about its packaging. I’m not really complaining about the packaging because I think the packaging adds to it’s no non-sense charm though. The Ben-Nye luxury powder coms in different shades but the most famous shade is in Banana.

    What I love:

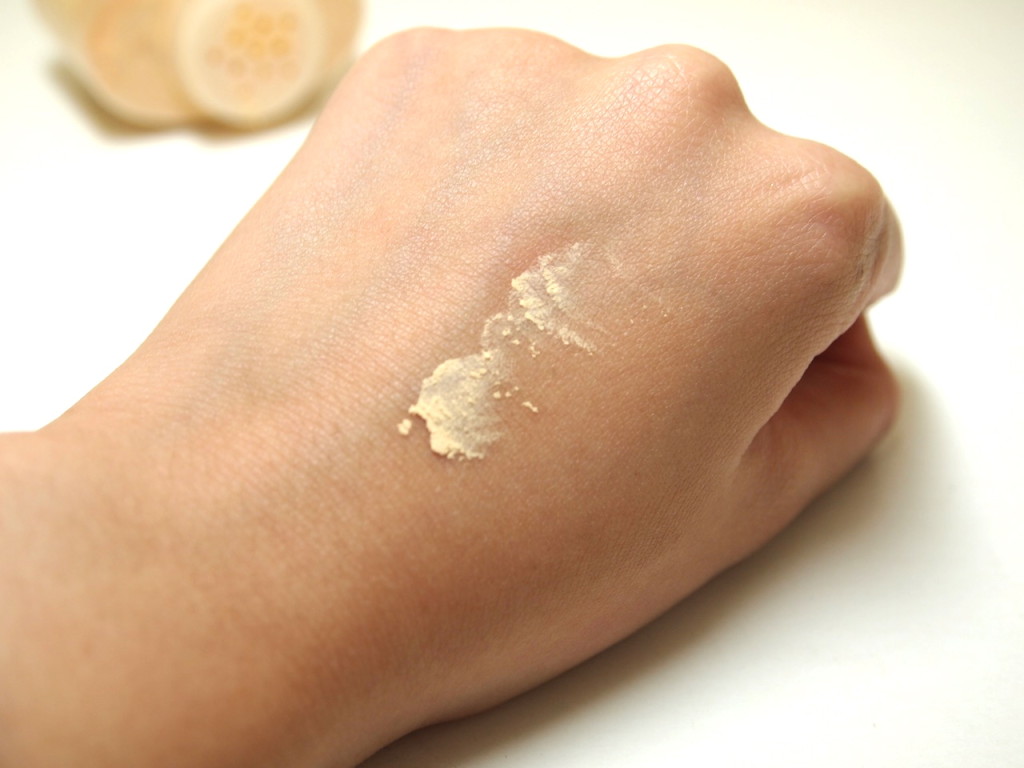
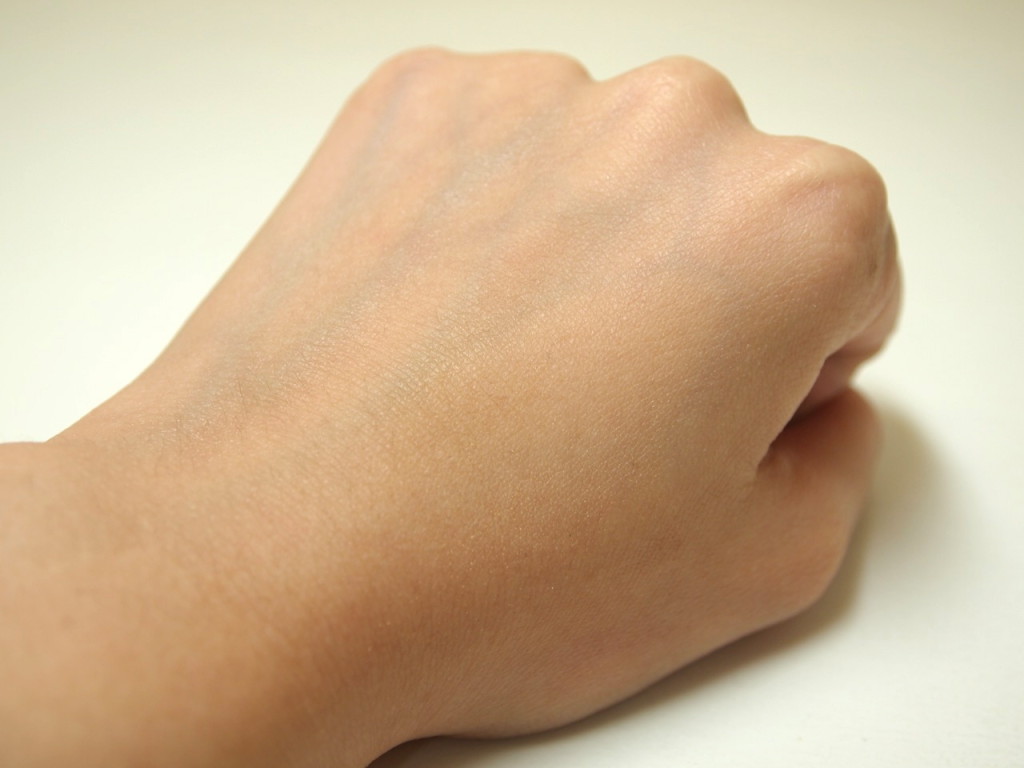
    • Don’t be intimidated by the yellow tinted powder because it actually blends very nicely into the skin. The yellow tint allows the face to look healthy unlike some powders that leave a white cast on the face.
    • I have some oily spots on my face and this powder sets those oily spots so well that it can keep my face from being oily for more than 8 hours.
    • The powder itself is so finely milled. It feels like a luxury powder indeed.
    • I noticed that the luxury powders that are being sold online are so expensive! I was able to buy my bottle of the Banana Luxury Powder (1.5 oz.) at Pure Beauty (Serendra) for only php 500.
    • I’m quite satisfied with the amount of powder that I have for the price of php 500. My Laura Mercier Loose Translucent powder costs around PHP1800 and only has around 1 oz worth of product.
    What I don’t Like:
    • none!


    Extra Thoughts/Comments:
    • Initially, I was about to deliver bad reviews on this product because I didn’t feel like the powder highlighted my face at all. The photo of Kim K. above shows how superbly this powder highlights the face. I refused to be disappointed in this product and I finally thought of a logical explanation to make myself feel better. The powder was able to highlight Kim K’s face so nicely because she has darker skin than me. It didn’t do any highlighting for me because it blends in with my skin tone so well! My conclusion is that this powder can work for both fair skinned and colored women. It can be a setting powder for fair skinned women. It can be a highlighter AND setting powder for the morenas.
    • I can imagine that a lot of people complain about the packaging. I think that it’s packaged in that way because the manufacturer of the powder initially had make up artists in mind when they packaged the product. It can also explain why the packaging has a “no fuss and non non-sense” vibe. As an aspiring makeup artist, I appreciate the packaging because I can easily pour a bit of powder onto a tissue or a plate and apply. I like it for its hygienic purposes. :)
    Swatches
    Final Thoughts
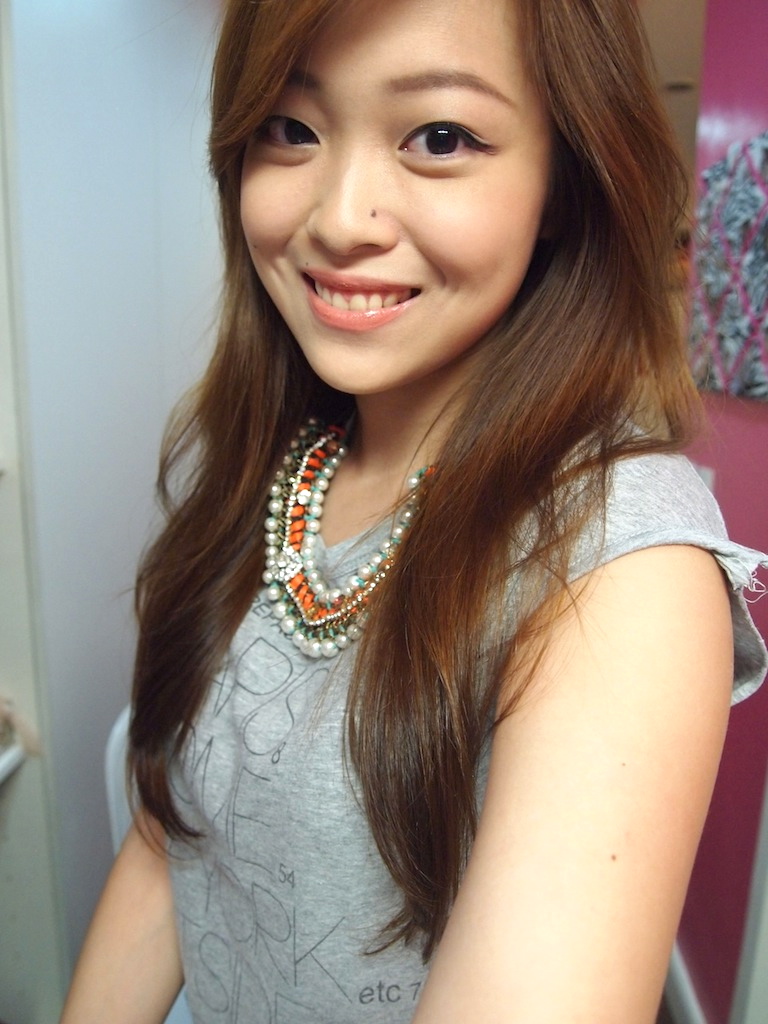
    I really like this powder and would consider repurchasing. This is a good setting powder for both fair skinned women and morenas. This wouldn’t much highlighting for fair skinned women though. It best used as a highlighter on morenas. :) I like it because it an affordable luxury powder and it does it’s job impeccably. :)
    That’s it for now! I’d love to hear your thoughts on the comments below! <3

    xoxo,


    For more updates, like my page on facebook here

    Follow me on twitter! :)

    Follow me on instagram!
     

    Share:
    Beauty, Reviews

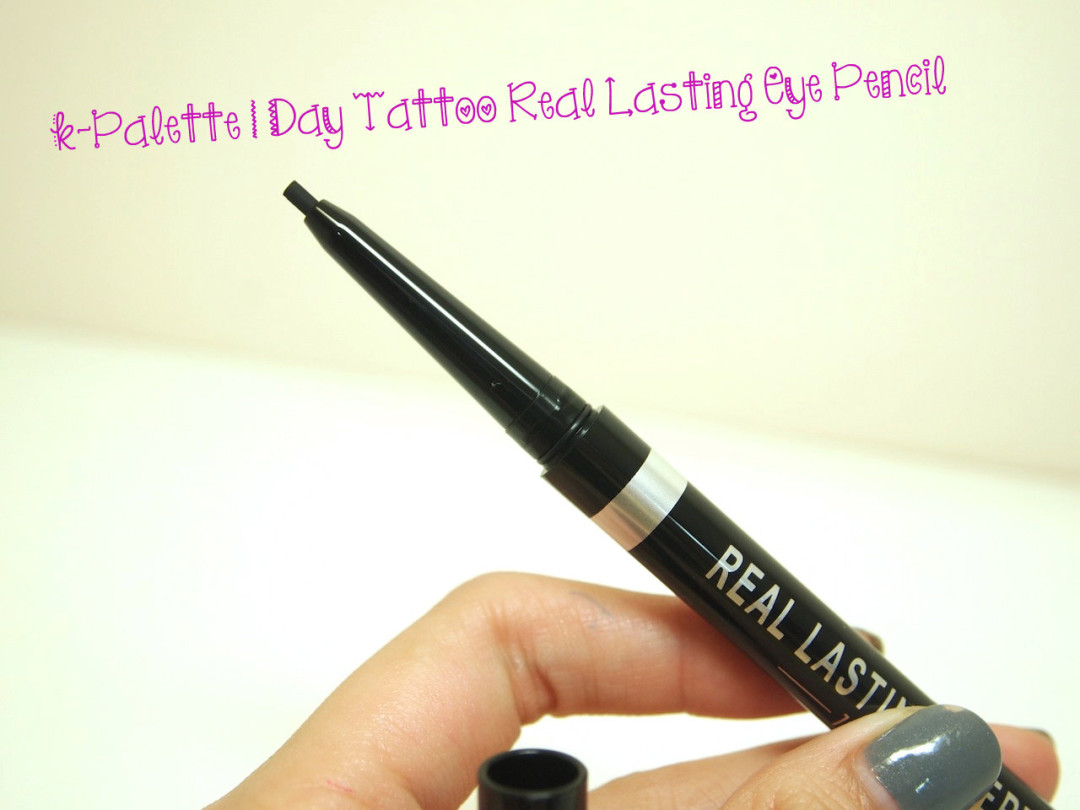
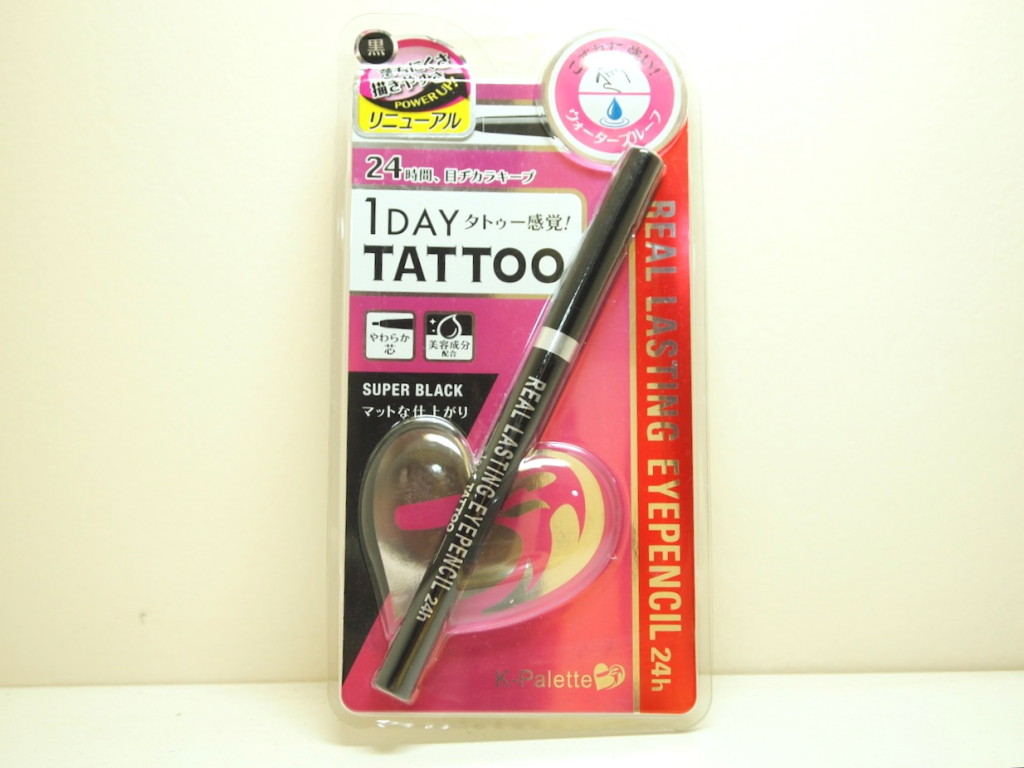
    Review: K-Palette 1-Day Tattoo Real Lasting Eye Pencil

    OLYMPUS DIGITAL CAMERA

    I know, I’m late. This new product I’m reviewing has been impressing one beauty blogger after the other. I bought this last April during my Hong Kong Trip but I only decided to open it last week. I have a tooon of unopened makeup items because I have too much makeup and I can’t finish them all. :( Anyway I finally decided to try out it out last week when I was looking for something new product to try. I find the greatest pleasure in trying out new cosmetics! :)


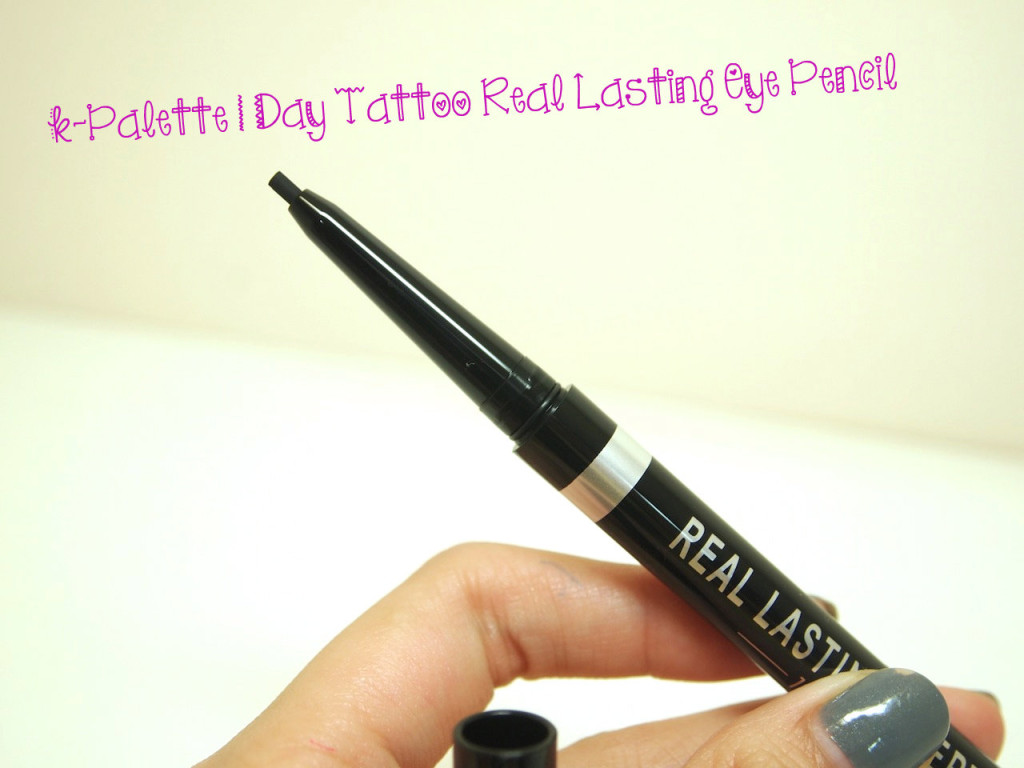
    I was really excited when I found out that K-Palette released a pencil version of their liquid liner because the K-palette liquid liner has always been a star in my makeup kit. The K-Palette 1-Day Tattoo Real Lasting Eye Pencil is a retractable eyeliner pencil that that comes in 2 shades: super black and deep brown. I’ve always been a fan of black eyeliners so I chose to purchase this in super black.

    What I love:

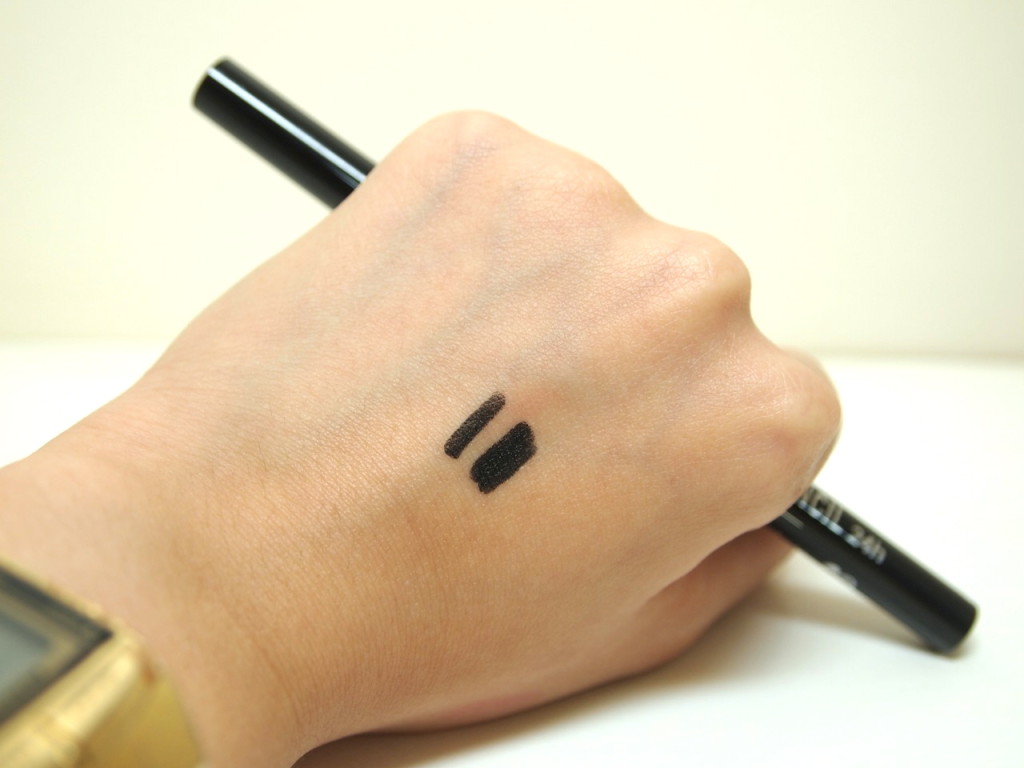
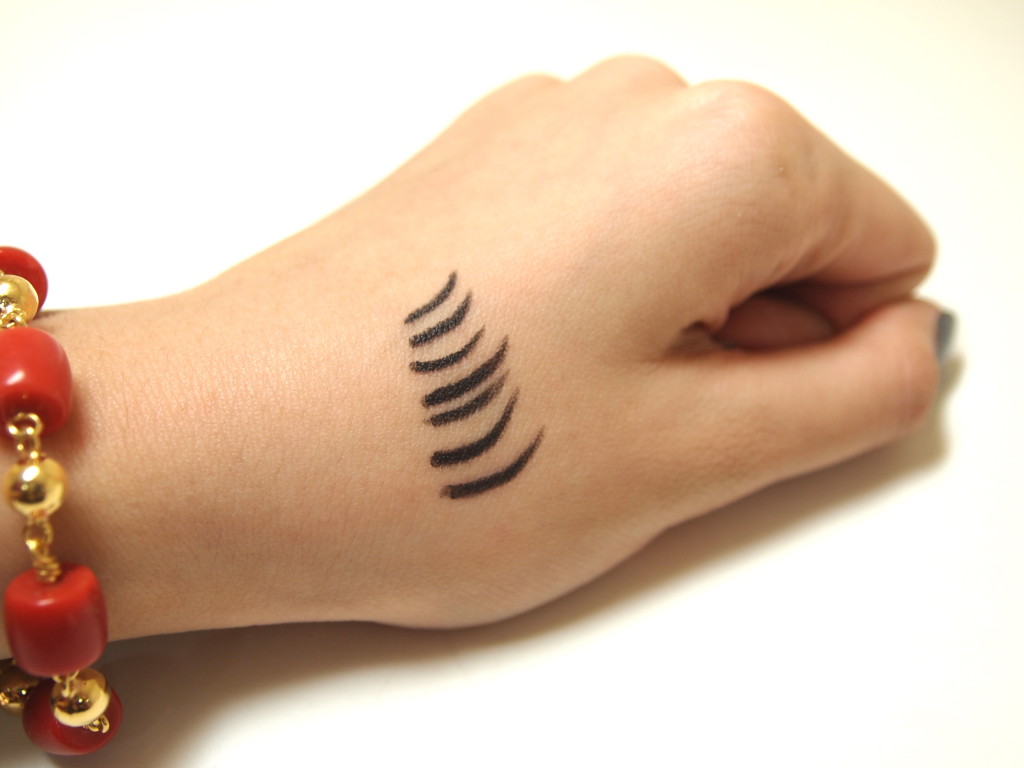
    I love that this eyeliner is retractable. I don’t have to deal with having to bring a sharpener in my kit to sharpen it or worrying that it will run out when I choose not to bring a sharpener in my kit. The bottom-line is that this pencil is super convenient to bring around. It’s very creamy and does not tug on my eyelids. The skin around our eyes is very delicate so it’s important to find products that apply easily and that doesn’t irritate our eyes. It’s so soft and creamy that it is highly recommended to only reveal 2mm worth of the pencil when applying it because it can break easily.  The shade is also very opaque. I can say that it IS a true black. One swipe on your lids does the job well. After a couple of uses, the tip of the pencil can be sharp enough to create flicks. I also observed that it didn’t budge when I tried to rub the swatch on my hand.


    the flicks i made with the pencil 

    after exposing it to running water.. I rubbed the swatches and they did not budge

    What I noticed:

    I don’t really have oily lids but I noticed that it started to smudge and transfer to my lids after a few hours of wearing it when I applied it on my bare lids. This has been a problem of mine with quite a number of eye pencils so I already know what to do in order to make eyeliner stay on my lids. I just apply a primer and make sure that it dries and then I apply powder on my lids to make sure the primer stay put. After doing this, I found that the K-Palette eye pencil stayed on my lids all throughout the day without budging. I think that the pigment transfers easily onto the lids because it’s sooo creamy.

    When Applied

    Final Thoughts

    The K-Palette 1-Day Tattoo Real Lasting Eye Pencil is a pencil that really performs well. It’s everything that a superb eyeliner pencil is supposed to be. However, If I had to choose only one between the K-Palette eye pencil and the K-Palette liquid eyeliner, I’d probably go for the liquid eyeliner. The liquid liner is much more precise, and stays on longer. I think the pencil is useful, still because it can be used for tight-lining which is something the liquid liner can’t do. It can also be applied on the water line (just make sure you set it with powder). It costs PHP705 in the Beauty Bar. It’s a bit more expensive than drugstore products and is almost half the price of high end pencils. Overall, this pencil is fabulous and does the job of lining the eyes, tight-lining, and lining the waterline.

    That’s it for now! What have you tried from K-Palette? I would love to hear about your experiences with K-Palette’s  products! :) Comment below and do share. <3

    xoxo,


    For more updates, like my page on facebook here

    Follow me on twitter! :)

    Follow me on instagram!
     

    Share:
    Beauty, Tutorials

    How to: Dewy Glowy skin

    OLYMPUS DIGITAL CAMERA

    Hi guys!

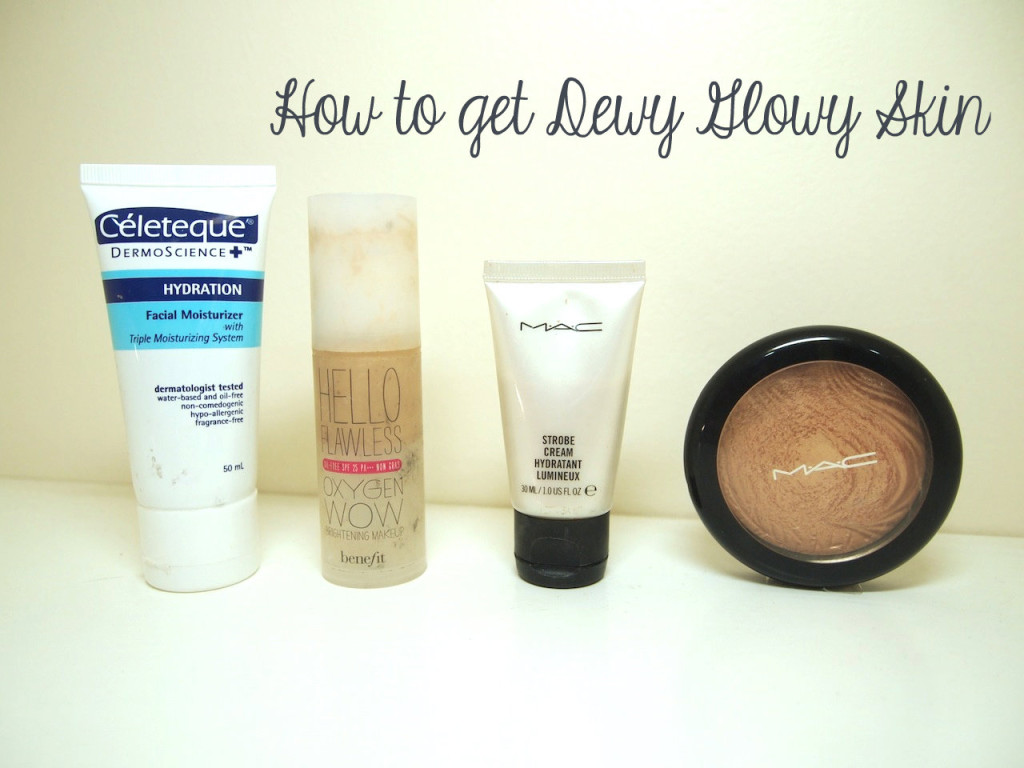
    Today I’m back with a short tutorial on how to achieve dewy glowy skin! For today, I’ll be showing you a way to have dewy glowy skin using makeup. If you’re getting ready for an extra special day, I suggest that you tend to your skin by religiously using the right products to make it look healthy. For those who don’t have the time to do that (you really should have time but who am I kidding? haha there are days when I forget to do my skin care routine when I’m extra tired and I just collapse on my bed. eek guilty!), this tutorial is perfect for you! :)

    Make sure you have cleansed and toned your face before anything else. I didn’t add those steps to my tutorial because I felt like it wasn’t really something that should be added to this tutorial because it’s not a skin care tutorial. Or is it? HAHA i don’t know.

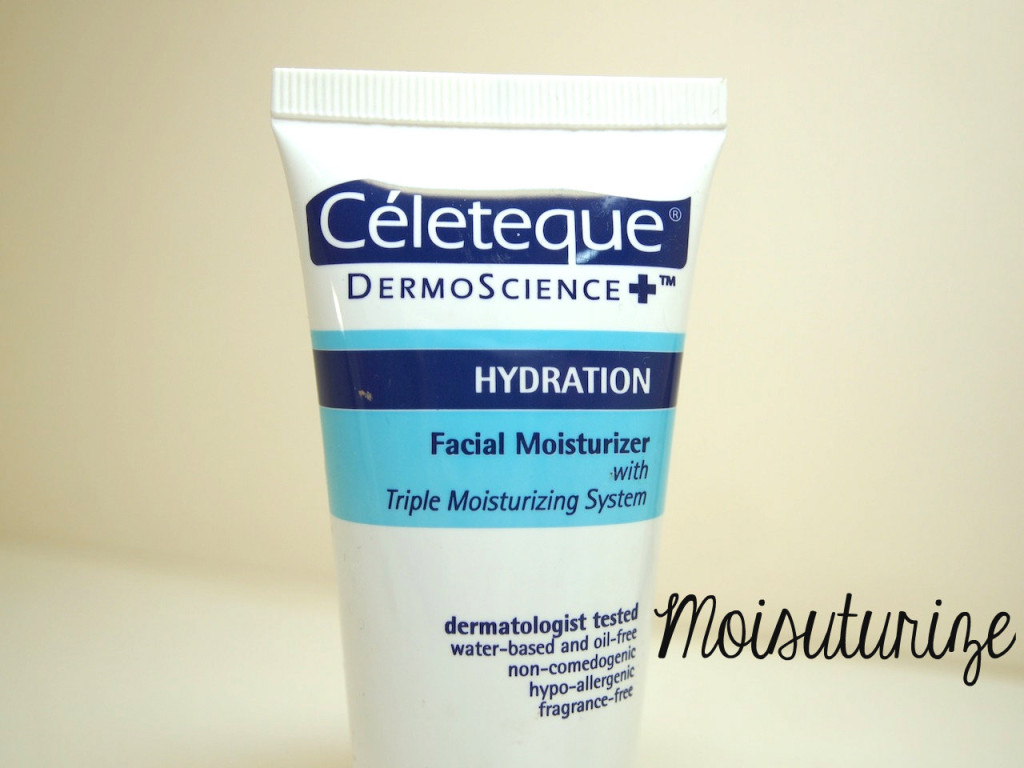
    Step 1: Moisturize

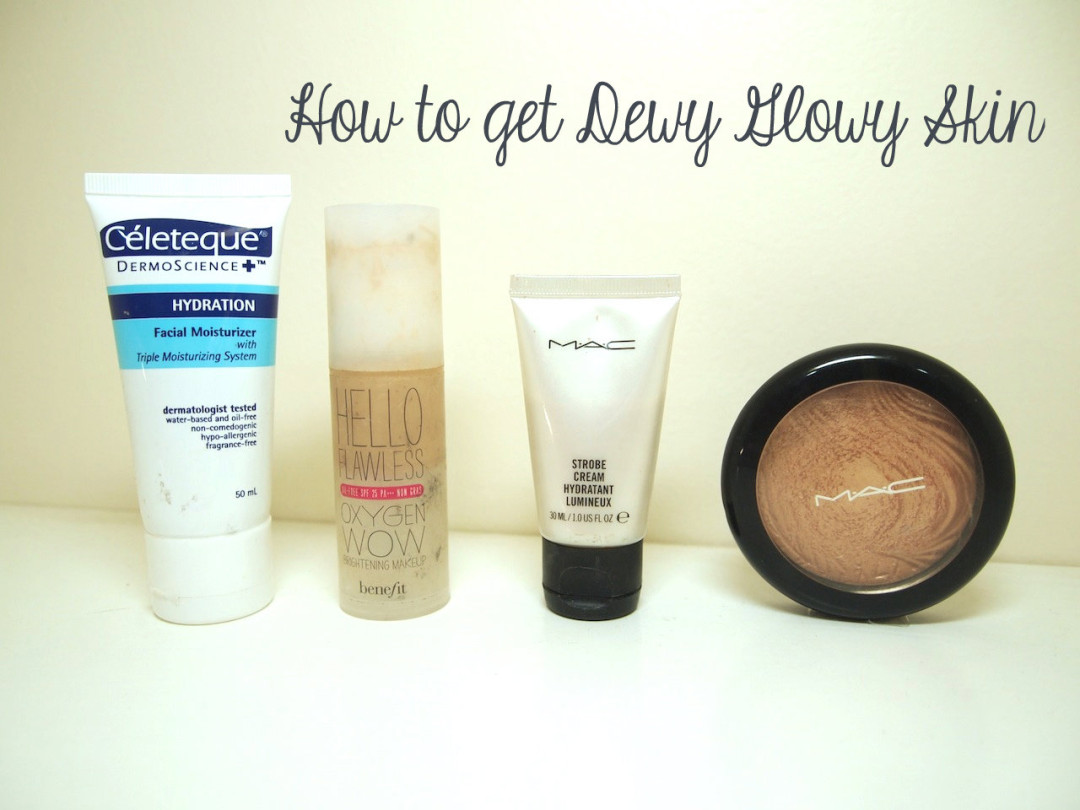
     Obviously the first step to getting a dewy glowy skin is moisturizing your skin. Make sure to lather on the right amount of moisturizer and give your skin some loove! You may use any moisturizer you want. :) Massage the moisturizer onto your skin until it is absorbed by your skin fully!

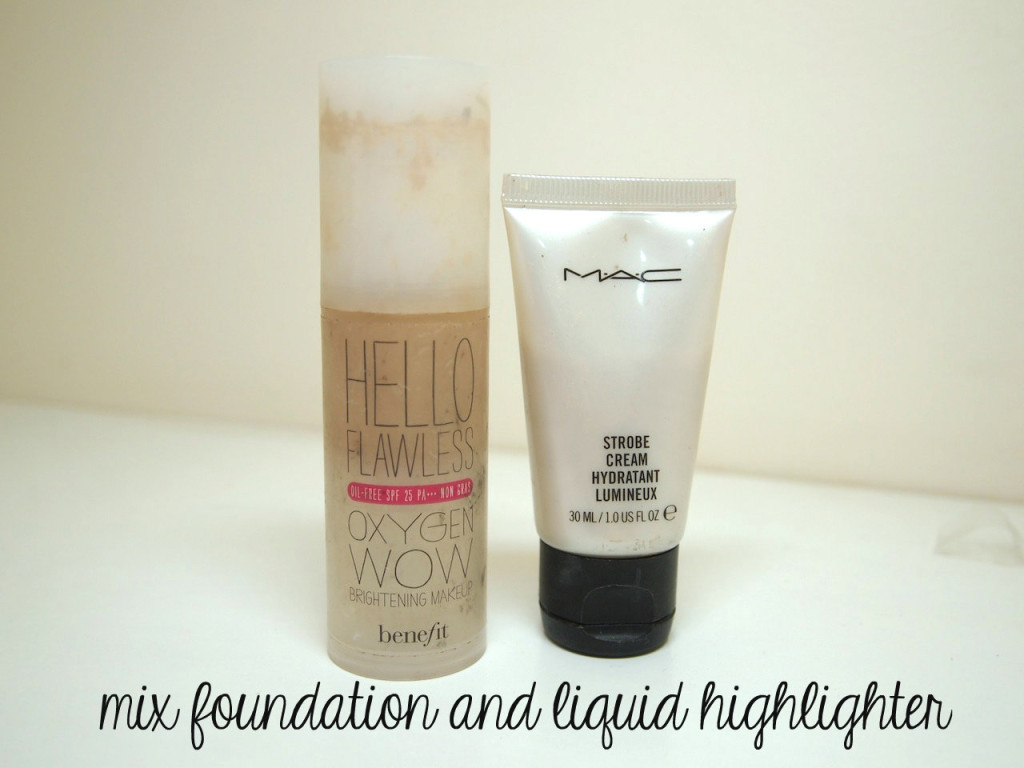
    Step 2: Mix your favorite liquid foundation with a liquid highlighter

    If your skin doesn’t need a full coverage foundation, it is best to use your lightest foundation. I chose to use my Benefit Hello flawless foundation. I used 1 and a half pumps worth of the foundation and a pea size worth of liquid highlighter from MAC. I mixed both products on the back of my hand and used a flat top kabuki brush to apply. You may use a stipling brush or whatever tool you wanna use. :)

    If you have blemishes or imperfections, you may conceal them during this step. :)

    Step 3: Apply Highlighter

    Apple highlighter on your cheeks. Use your pupil as a marker. Apply it from below the middle of your pupil until you reach your temples. As a general rule, apply it where the light hits your face: cupid’s bow, below your eye-brow and bridge of your nose. If you have chubby cheeks, you may choose not to apply highlighter on your cheeks because the highlighter might just emphasize your cheeks and make them look bigger. It’s also good to use a highlighter that doesn’t have to much shimmer or big gunks of glitter. :)

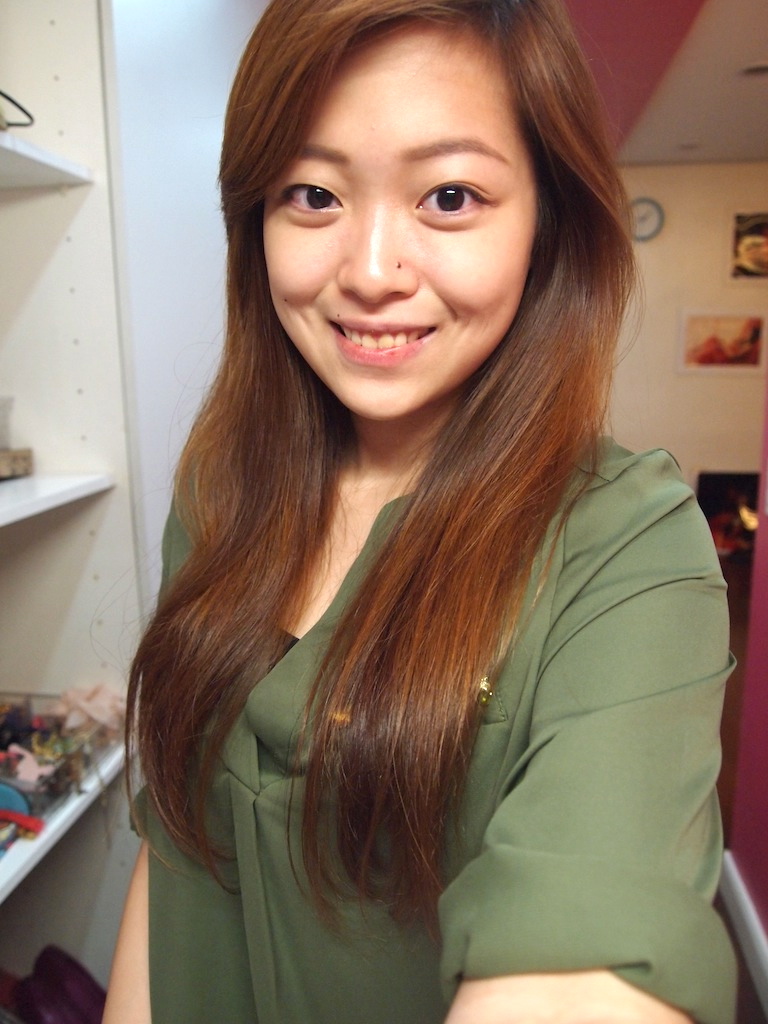
    Finished Product

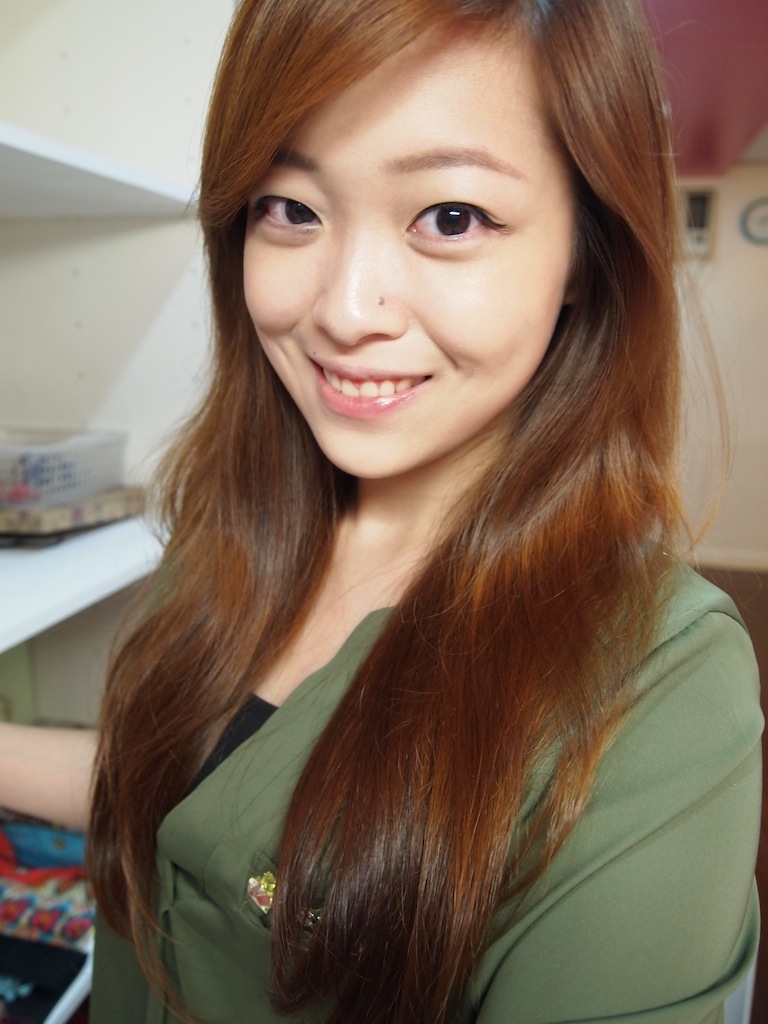
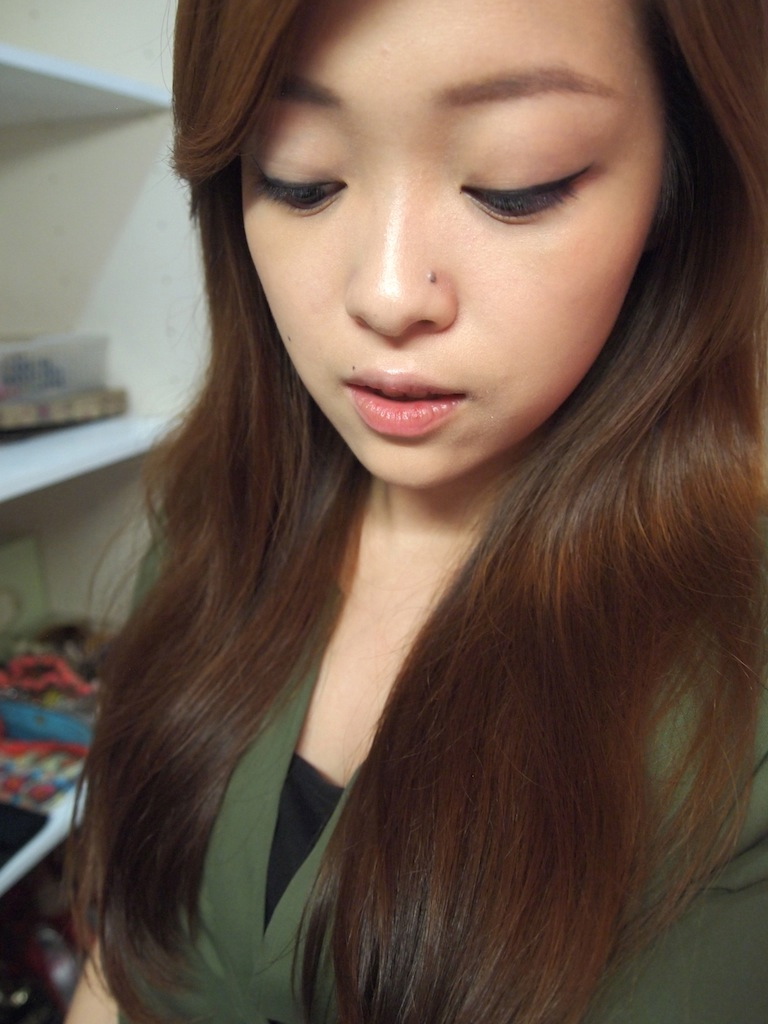
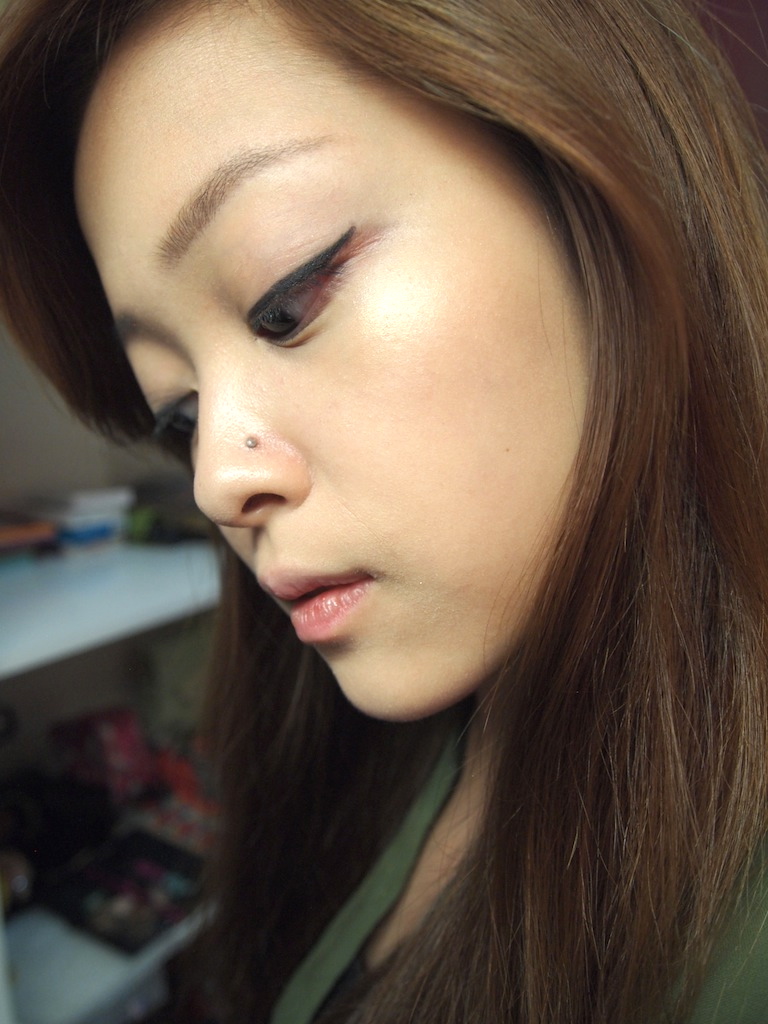
    no makeup

    after the 3 steps..voila! I only put the products from above and look how much of a difference it makes from my bare face! :) 

    what do you think?? :)

    xoxo,


    For more updates, like my page on facebook here

    Follow me on twitter! :)

    Follow me on instagram!
    Share:
    Beauty, Reviews

    Review: Etude House Color My Brows in 1 and 2

    OLYMPUS DIGITAL CAMERA

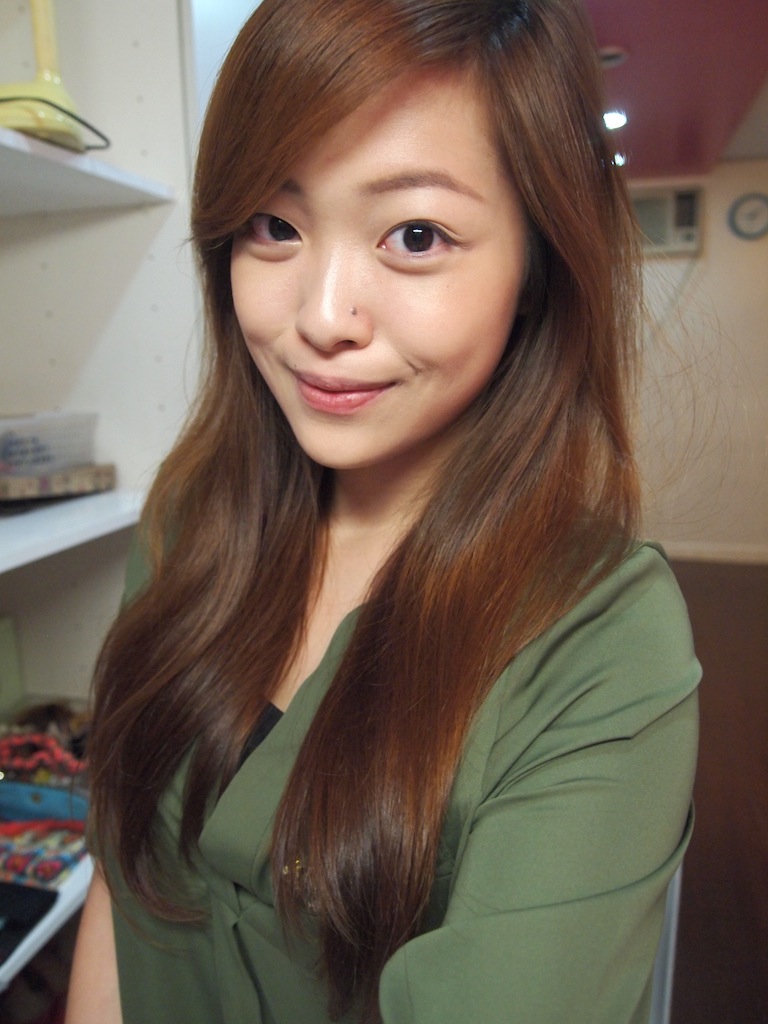
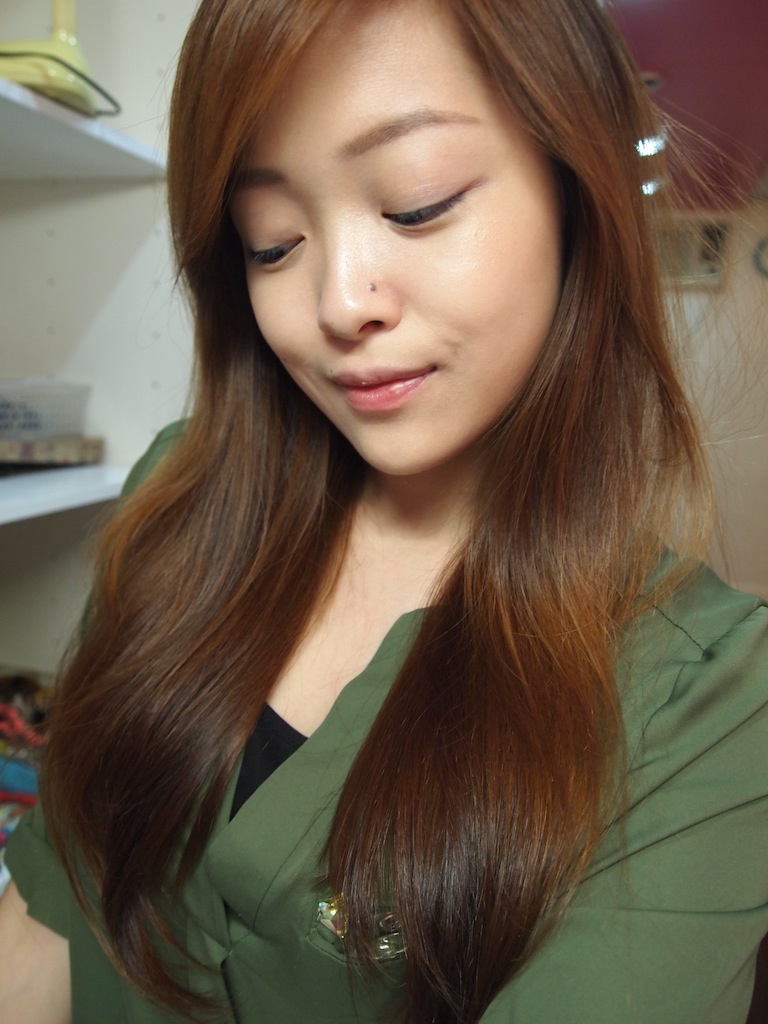
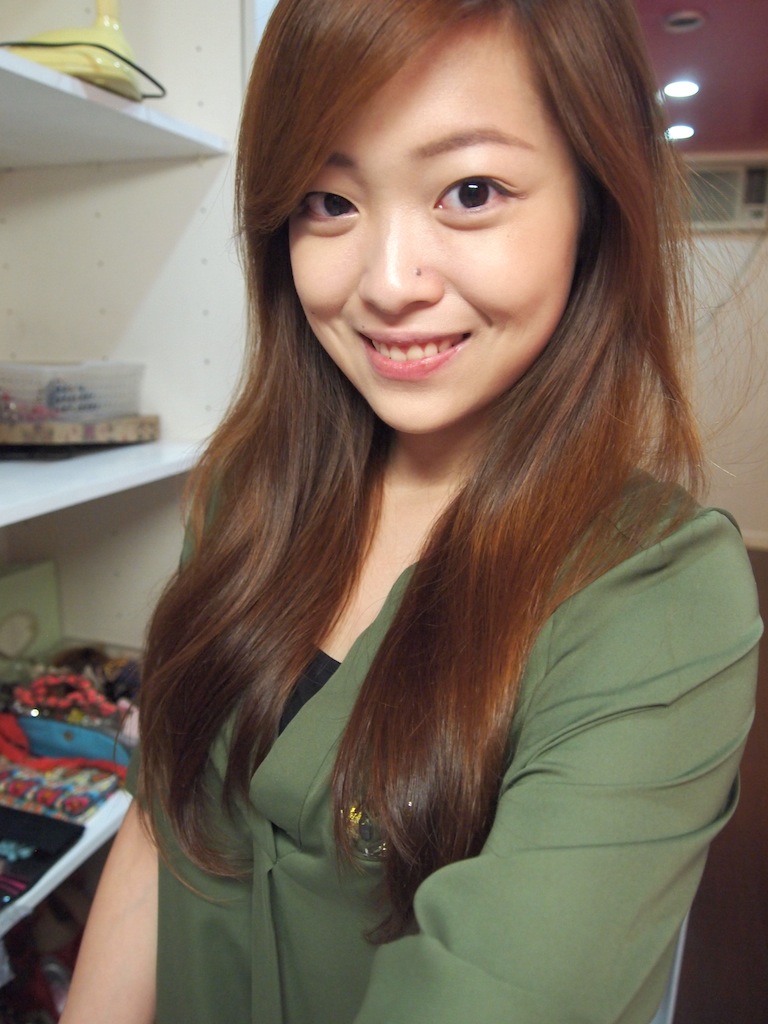
    I recently had a friend of mine who asked me for advice on what brow product she could use to match her light brown hair color. Her hair color is very similar to mine which is why it was kind of easy to answer her question. Her question got me to thinking that I never got to put up a review on my current go-to product for tinting my brows. I’ve been using this product for months now and I think it’s perfect for those who have lightly colored hair like me.

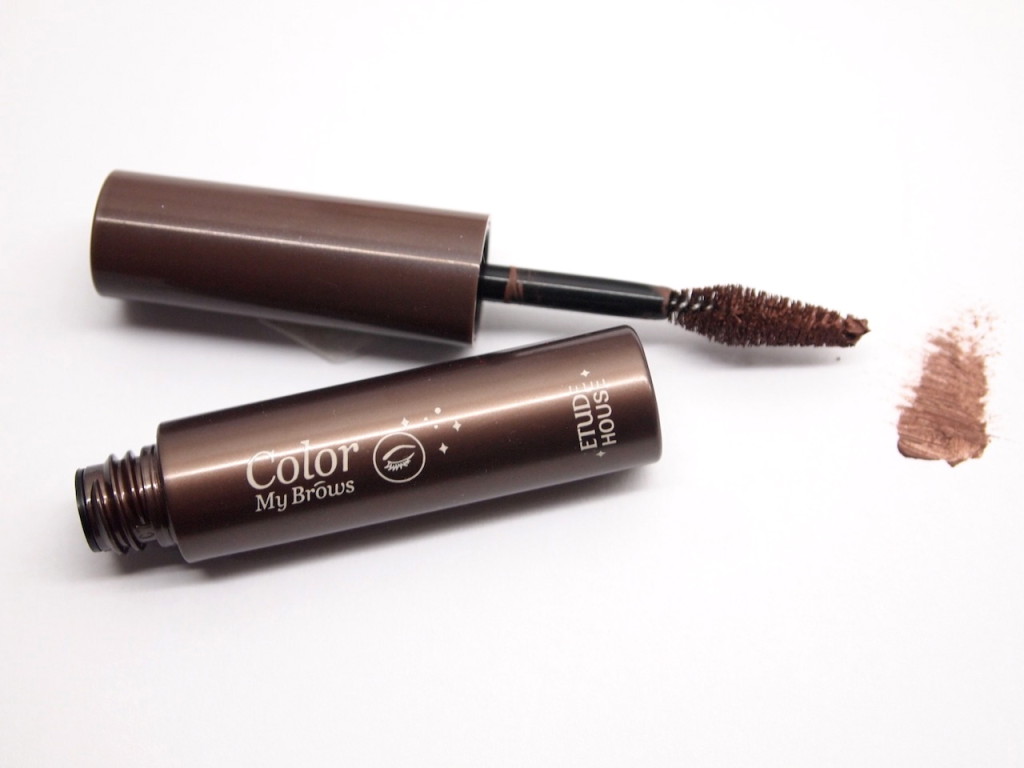
    forgive my Etude house Color My Brows shade in number 2. As I said, I’ve been using it almost every day for months now and the logo it initially had has already faded away.

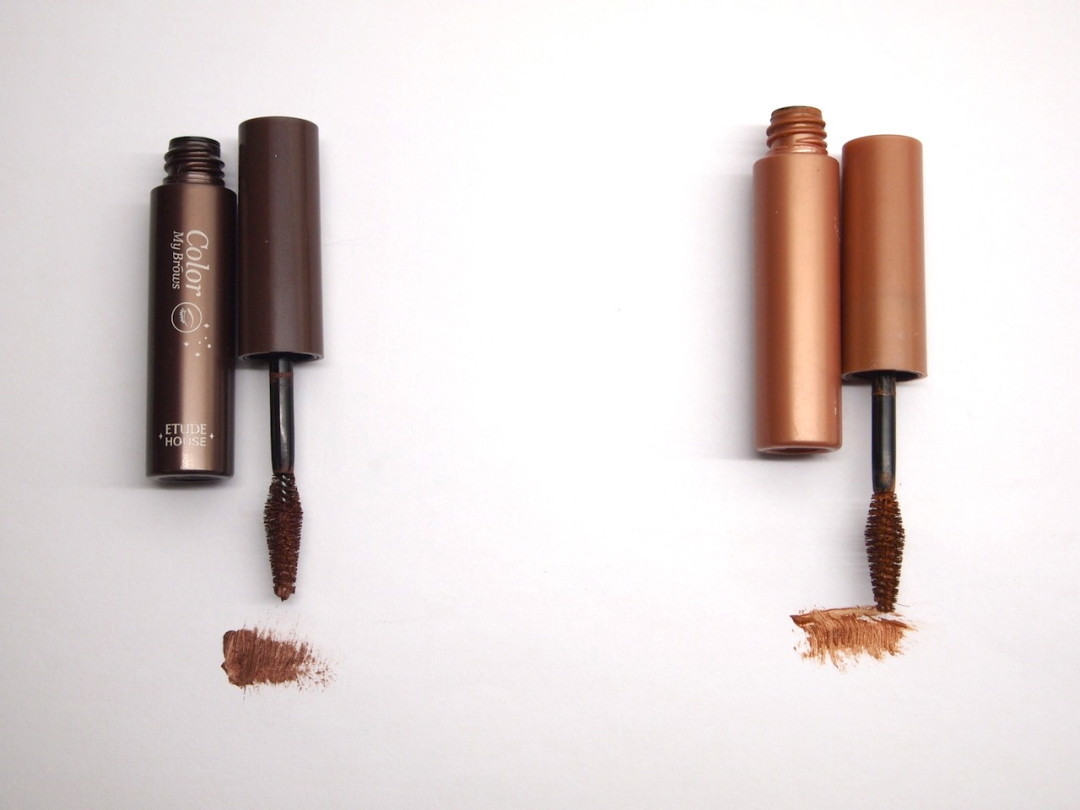
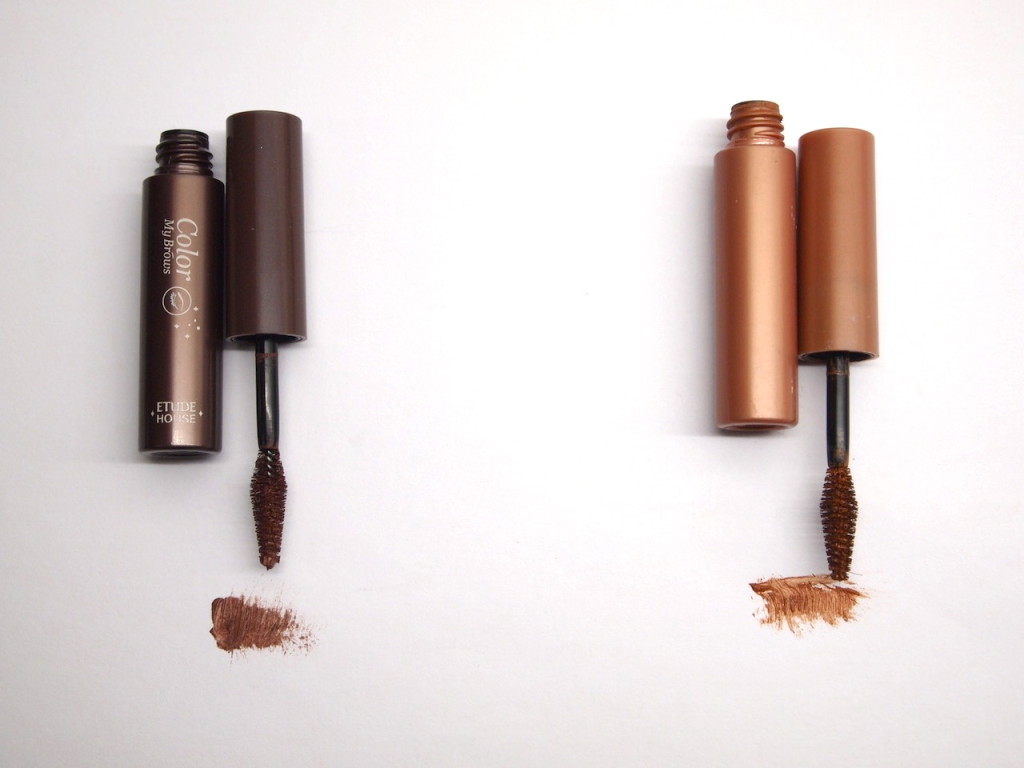
    When I took my certificate course at MUD, I decided to purchase another shade so as to cater to the brown haired girl who will be on my makeup chair. :) So now I have the product in shades 1 and 2. 1 is the shade on the left and 2 is the shade on the right.

    Product

    From the name Color My Brows, the product is an eyebrow tint that has a gel to cream-like consistency. Shade number one is light chocolate brown shade while shade number two is a light brown shade with a touch of semi-orange hues. Both shades have really tiny flecks of shimmer in them. and  The product is quite small and is about the length of my palm. It has diamond shaped applicator made of natural bristles.

    What I Love:

    • Since it is common for women to have brown or dark hair, I use the shade 1 as an eyebrow gel to keep eyebrows in place.
    • Shade number 2 is perfect for my hair color because it matches my light hair color superbly.
    • The small size of the brush is perfect for those who have thin and barely there eyebrows like me. i think it’s better to have small brushes then big ones because girls with fuller brows can benefit small brushes as well. Girl with thin brows however may have a hard time using big brush applicators.
    • I like that they packaged the brow tints in a way that it is easy for people to identify the color of the brow tint. The shades of the brow tints match their packaging.
    • I’ve been using this almost everyday for roughly six months now and I still haven’t run out of the product.
    • It’s quite affordable at around PHP360.
    What I don’t like:
    • It’s sole purpose for me is to tint my brows. It doesn’t really fill in brows which is why I use my Face Shop retractable pencil to fill in my brows.
    • It doesn’t last all day on me. When I apply it in the morning, I find that it fades after around 11 hours of wearing time. I don;
    • I don’t mind reapplying though! :)

    When Worn:

    me wearing the shade 2

     Final Thoughts

    I think this is a cheap alternative to the high-end brow tints. It’s cheap AND effective. I recommend this to those who need brow tints to match their hair color to their eyebrows because hair and eyebrows that don’t match are a no-no! :) Just kidding. Well I just personally find it more pleasing to the eyes when a person’s hair and brow color match.

    What other tints do you recommend? :) Let me know!! :)

    xoxo,


    For more updates, like my page on facebook here

    Follow me on twitter! :)

    Follow me on instagram!
    Share: